
Terminal Control
Control, inspect, test, and capture real terminal applications for agents and TUI review.


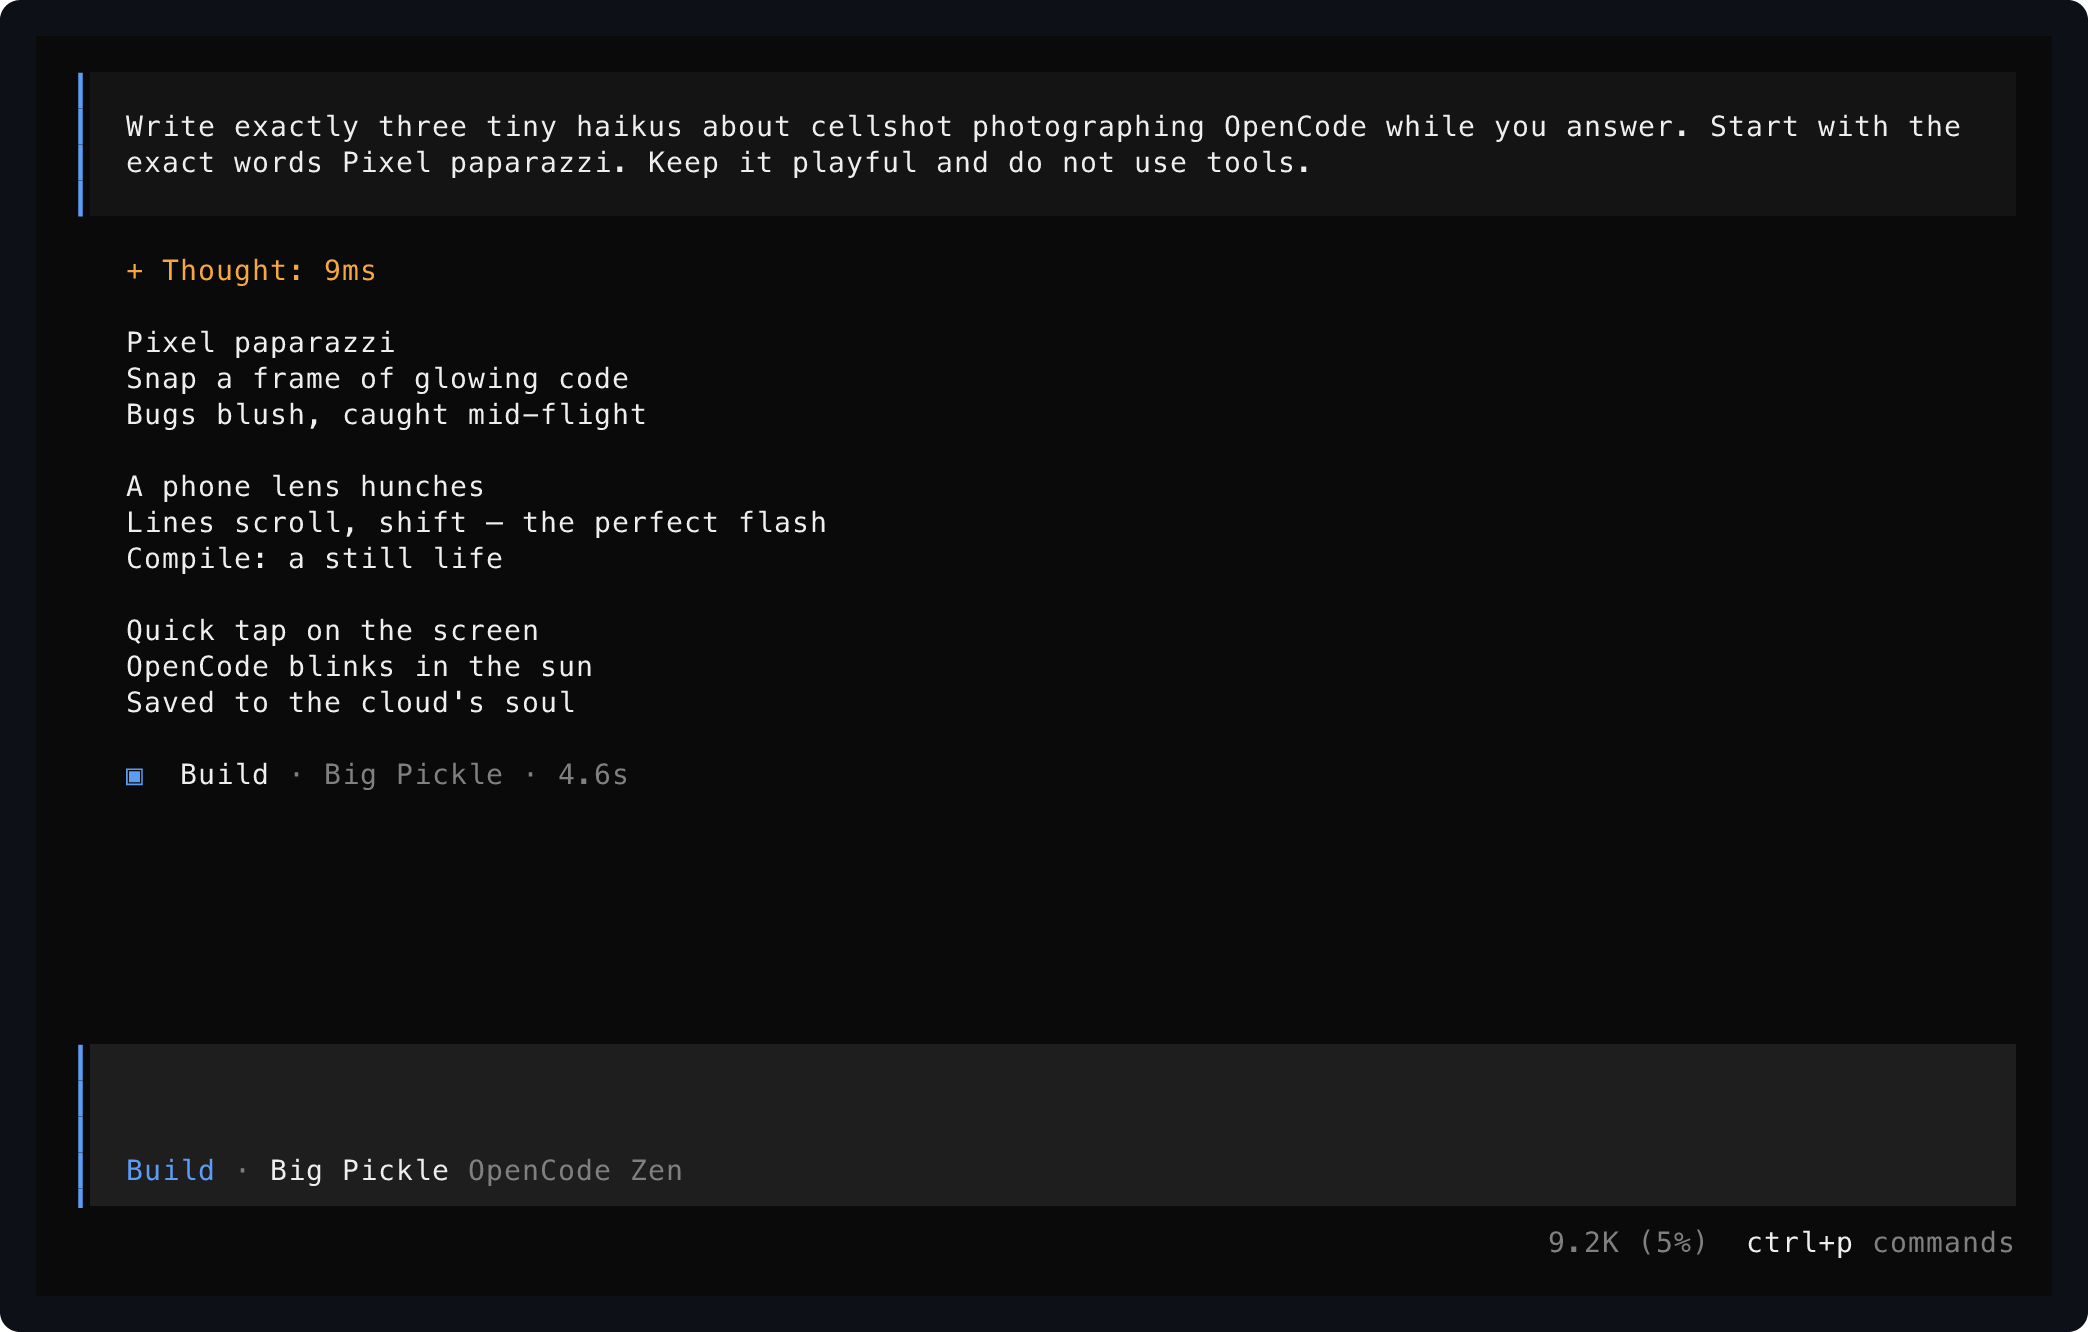
Saved from one live OpenCode session using start, send, and save.
Install
Requires Rust 1.93 or newer. Video export also requires ffmpeg.
Or install the current repository head:
Set Up Your Agent
Terminal Control is built for agents first. Install the skill so your coding agent knows the workflow:
Or expose sessions as structured MCP tools instead of shell commands (stdio server):
MCP screen reads and interactions return the current frame immediately. Agents can opt into
quiet-output settling with settleMs and deadlineMs when a specific transition requires it.
Then ask for terminal work in ordinary language:
Use terminal-control to open my TUI, press through the setup flow, and save a screenshot of the final screen.
Record yourself using the terminal app, mark the important moments, and export a short MP4 demo.
The skill teaches the safe workflow: start named sessions, wait for visible text, send exact input, inspect screens, save artifacts, record timelines, and stop sessions when finished.
Read A Screen
show runs a program in a PTY and prints its settled visible screen to stdout. No files are created.
Wait for the app to mount and interact before reading:
Other stdout representations are explicit:
Save Evidence
save writes only the artifact formats you request:
The second command writes captures/model.png and captures/model.txt. Raw ANSI artifacts can contain sensitive terminal data and require explicit --format ansi.
Drive A Live Session
Use a named session when several interactions target the same running application:
sendacceptstext:<value>, named keys (enter,escape, arrows,tab,shift-tab,backspace,delete,home,end,page-up,page-down), andctrl-athroughctrl-z. Pipe exact bytes with--stdin.waitblocks until text is visible; use it instead of sleeping.statusreports running/exited state, command, cwd, viewport, and recording path.listshows all sessions.resize demo --cols 132 --rows 38tests responsive layouts.restart demorelaunches with the stored command, cwd, viewport, and recording settings.- An exited session keeps its final screen for
showuntil stopped.
OpenTUI applications such as OpenCode need the opt-in host handshake:
For normal-screen tools and log-like processes, read retained scrollback with logs:
Full-screen alternate-screen TUIs do not produce useful logs; read their visible screen with show.
Share A Session With A Human
run keeps the application visible and interactive in your current terminal pane while agents control the same PTY through the named session commands:
Without NAME, the session name is the executable basename (nvim above); a name collision is an error, never a suffixed name. No tmux or multiplexer involved.
Record And Export Video
Record a timeline, mark moments while it runs, then export an edited MP4:
An edit plan selects marker ranges with per-clip speed, captions, and optional end holds:
Without --edit, export preserves recorded timing. --footer renders captions, timecode, and branding in a bottom bar. --tail-ms 0 removes the default one-second final hold. Keep speeds low enough for text to stay readable.
Recordings are JSON Lines files containing terminal output and typed input; they can include prompts or secrets. Treat them as sensitive.
Pipes And ANSI Streams
Capture piped command output, or render an existing ANSI/VT stream without launching a process:
|
One-off show and save own disposable processes: after the read or save, the launched process tree is terminated. Use start for long-running applications.
TypeScript Testing
@kitlangton/terminal-control on npm wraps the driver as typed test sessions with bundled native binaries — no Rust toolchain needed:
import { TerminalControl } from "@kitlangton/terminal-control"

await using terminal = await TerminalControl.make()
await using session = await terminal.launch({ command: ["my-tui"] })

await session.screen.waitForText("Ready")
await session.keyboard.press("Enter")
expect(await session.screen.text()).toMatchSnapshot()
See docs/typescript-client.md for artifacts, recordings, Vitest matchers, and configuration.
More Documentation
- docs/rust-library.md — embed the shot engine and sessions in Rust, plus versioned JSON schemas.
- docs/driver-protocol.md — the
termctrl driverJSON Lines protocol for external tooling. - docs/typescript-client.md — the npm test client in full.
- docs/releasing.md — maintainer release process for the npm packages.
Notes
- Persistent sessions use owner-only local Unix sockets and are supported on macOS and Linux.
--host opentuianswers startup probes needed by current OpenTUI applications.- The renderer uses a pure-Rust
vt100backend and exports PNG, SVG, JSON, text, and raw ANSI artifacts. - Run
termctrl <command> --helpfor dimensions, timing, color, rendering, and output options.