
rust-animation 
rust-animation is a wgpu-based graphics library written in Rust for creating hardware-accelerated user interfaces. It is designed to implement simple, animated UIs for embedded devices, inspired by the GNOME Clutter project and Apple Core Animation.
Table of Contents
- Features
- Prerequisites
- Installation
- Quick Start
- Examples
- API Overview
- Contributing
- License
- Acknowledgments
Features
- 2D Transforms: Apply translate, scale, and rotate transformations to layers
- Rich Animation System: Support for multiple easing functions (Linear, EaseIn, EaseOut, EaseInOut, and various polynomial variants)
- Flex Layout: CSS Flexbox-like layout system using the Stretch library
- Hardware Acceleration: wgpu-based rendering for high performance across multiple backends (Vulkan, Metal, D3D12, OpenGL)
- Layer Hierarchy: Support for nested layers with parent-child relationships
- Event Handling: Built-in event system for keyboard input and focus management
- Image Support: Load and display images as textures
- Text Rendering: Font rendering capabilities for displaying text
- Cross-Platform: Works on Windows, macOS, Linux, and can target WebAssembly
Note: rust-animation is in early development. Some features may be incomplete or have bugs. Please report any issues you encounter.
Prerequisites
Before using rust-animation, ensure you have the following installed:
Required
- Rust (stable): Install from rust-lang.org
|
Platform-Specific Requirements
Ubuntu/Debian
macOS
Windows
- Install CMake from the official website
- Ensure you have the Visual Studio Build Tools or Visual Studio installed
Tested Platforms
- Ubuntu 20.04 and later
- Windows 10 and later
- macOS (Intel and Apple Silicon)
Installation
Using as a Library
Add rust-animation to your Cargo.toml:
[]
= "0.2.7"
Building from Source
Clone the repository and build:
Quick Start
Here's a minimal example to get started:
use ;
use ;
use LayoutMode;
use EasingFunction;
For complete working examples, see the Examples section below.
Examples
rust-animation includes several examples to demonstrate its capabilities. All examples can be run using cargo:
# General format
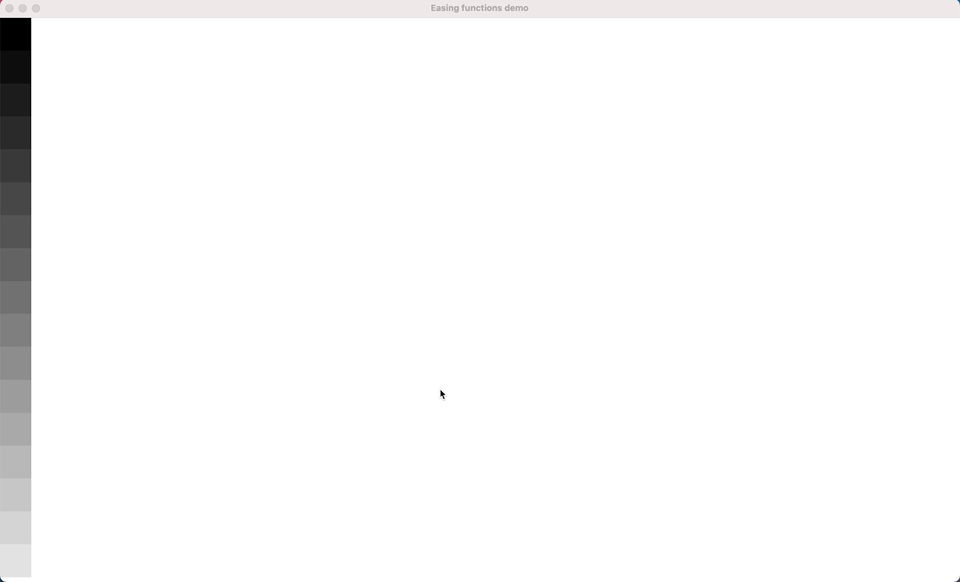
Easing Functions
Example file: easing_functions.rs
Demonstrates all available easing functions with visual animations.
Run:
What it does: Creates 17 animated layers, each using a different easing function, moving horizontally across the screen while rotating.
Key concepts demonstrated:
- Multiple easing functions (Linear, EaseIn, EaseOut, EaseInOut, and polynomial variants)
- Combining multiple animations (translation + rotation)
- Layer positioning and coloring
Code snippet:
let mut play = new;
// Initialize wgpu context
play.init_wgpu;
let mut stage = new;
stage.set_visible;
let easing_functions = vec!;
let mut y = 0;
let time = 5.0;
let width = 63;
let height = width;
for i in 0..17
play.add_stage;
// Event loop with winit (see full example for complete implementation)
Flex UI
Example file: flex_ui.rs
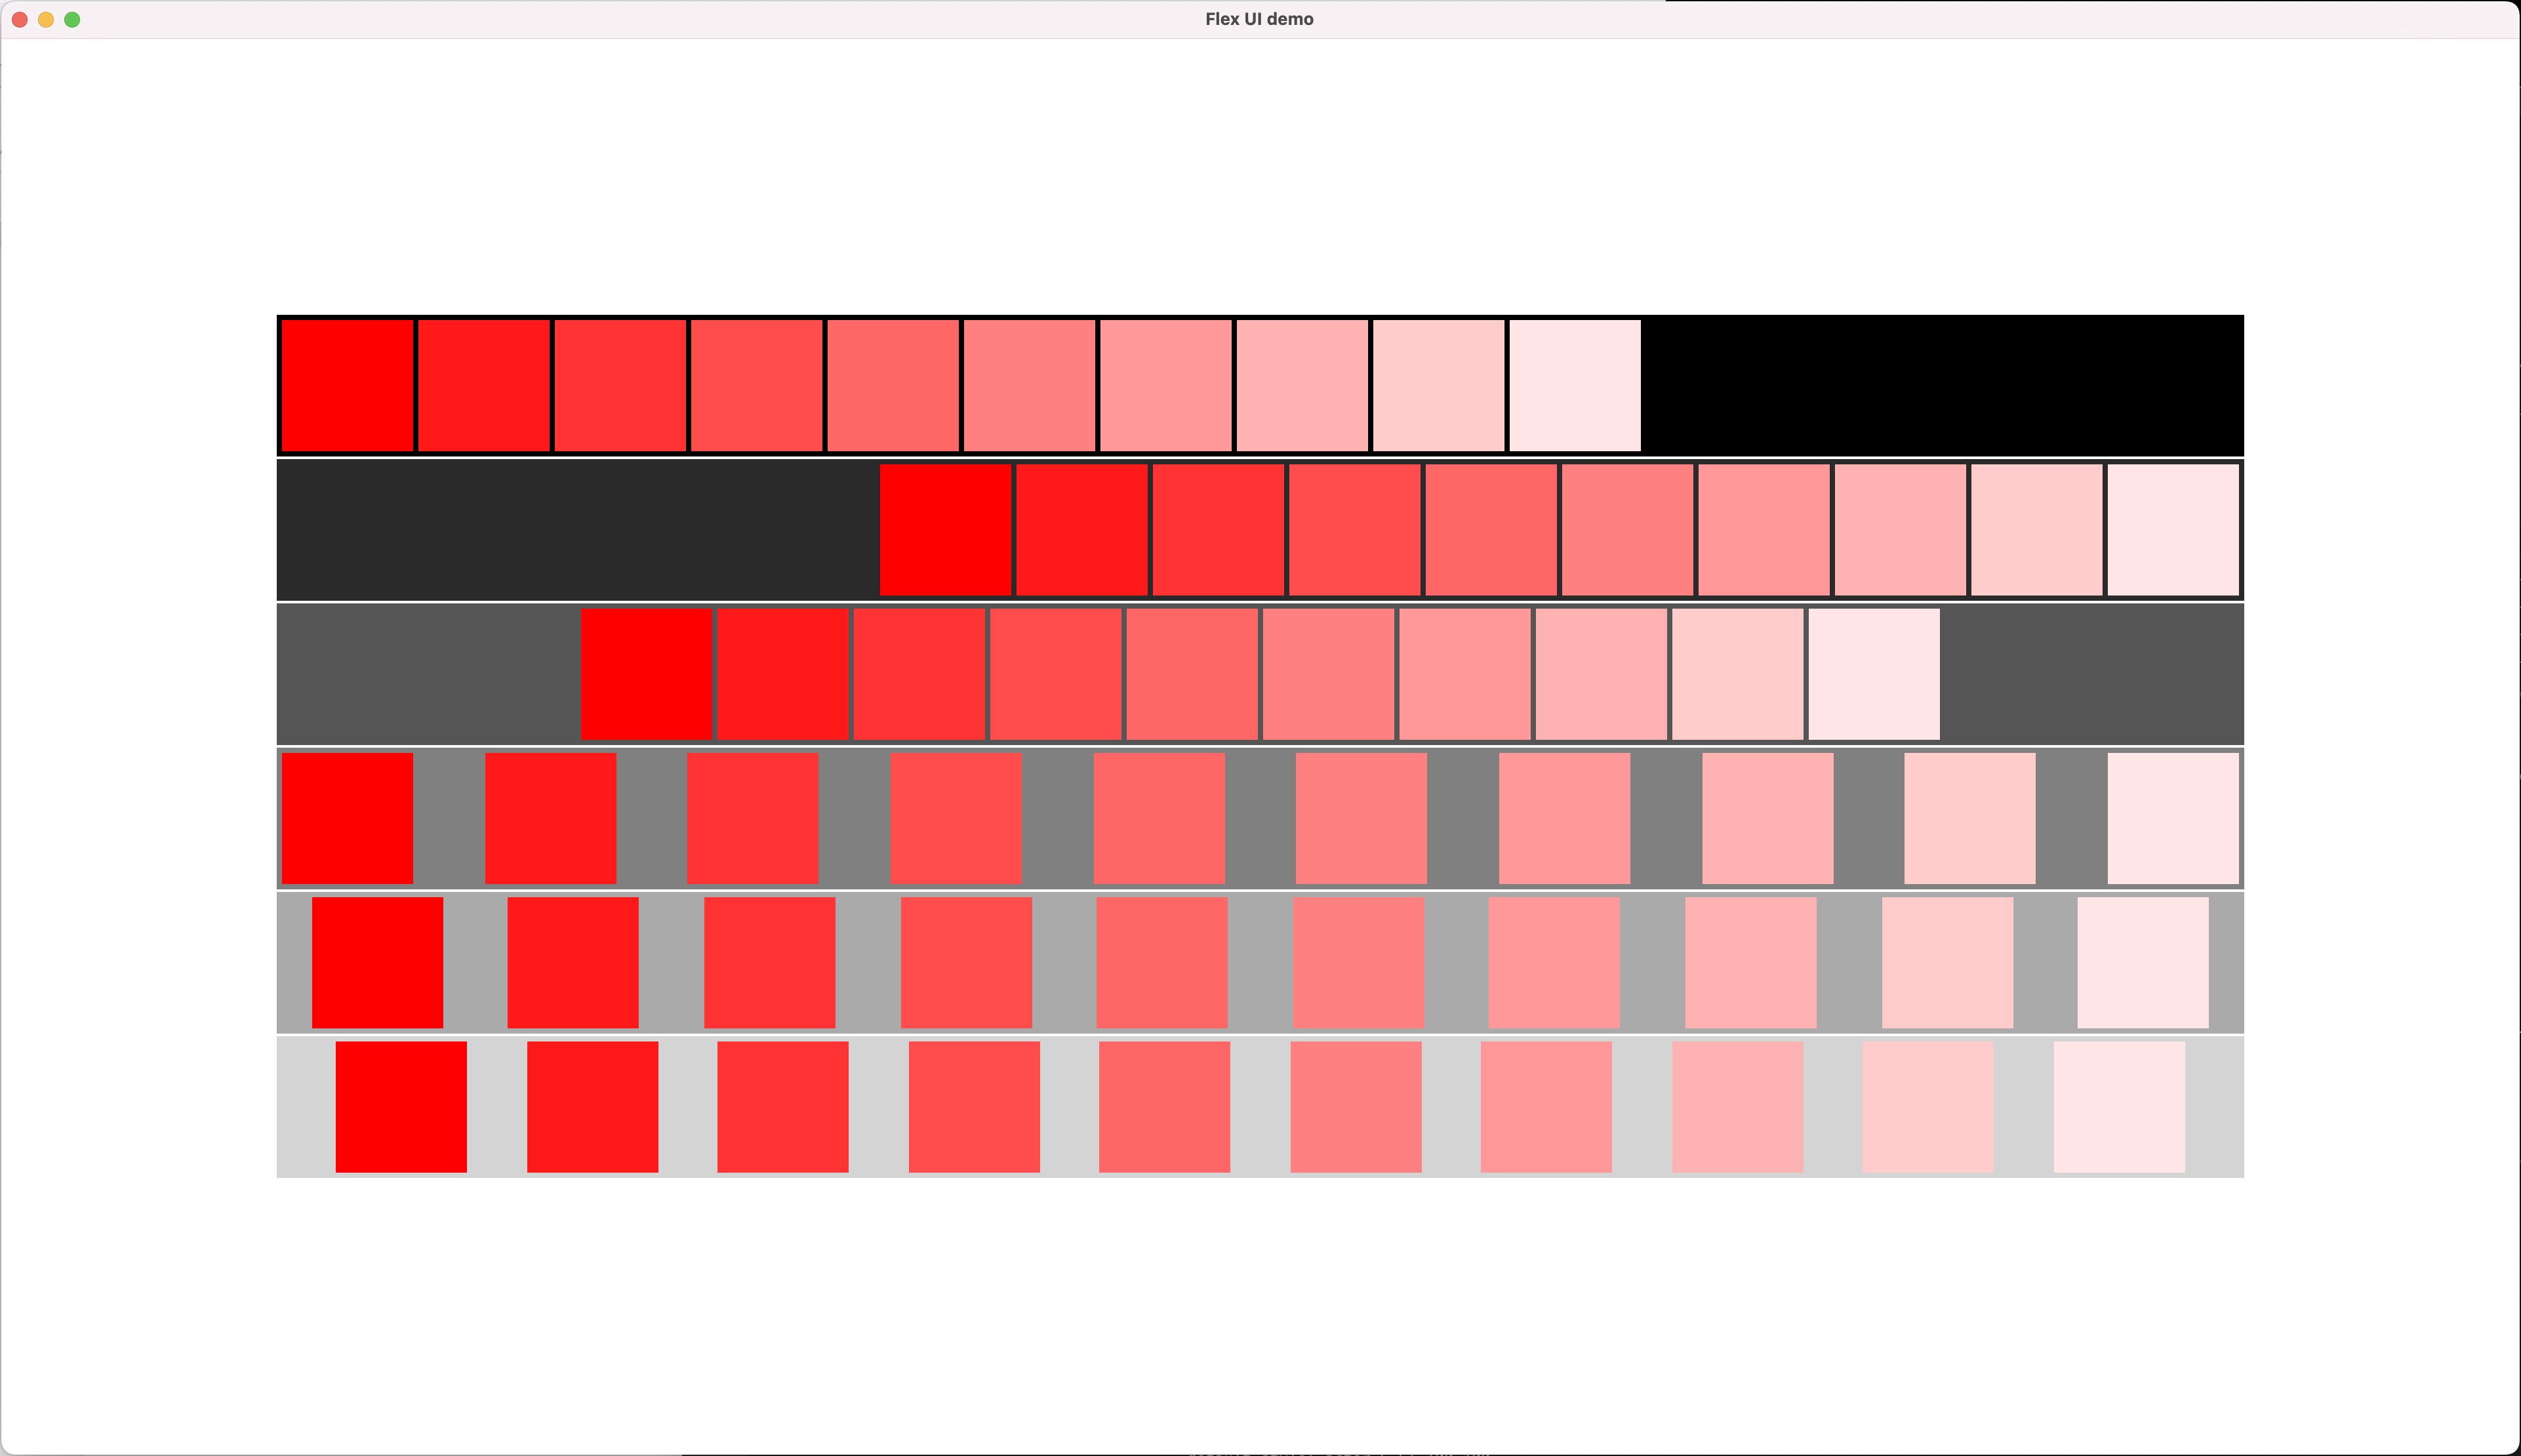
Demonstrates CSS Flexbox-like layout capabilities using the Stretch library.
Run:
What it does: Creates a responsive layout with multiple containers, each demonstrating different flexbox alignment properties (FlexStart, FlexEnd, Center, SpaceBetween, SpaceAround, SpaceEvenly).
Key concepts demonstrated:
- Flex layout system
- Custom layout implementation using the
Layouttrait - Justify content and align items properties
- Nested layers with flex positioning
See the full implementation in examples/flex_ui.rs.
Basic Animation
Example file: ani.rs
Demonstrates basic animation features including transforms and image loading.
Run:
What it does: Shows multiple animations running simultaneously - scaling, translating, and rotating layers, including image-based layers and colored shapes with nested sub-layers.
Key concepts demonstrated:
- Multiple simultaneous animations (scale, translate, rotate)
- Loading and animating images
- Nested layer hierarchies
- Different easing functions
Code snippet:
let mut play = new;
// Initialize wgpu context
play.init_wgpu;
let mut stage = new;
stage.set_visible;
let mut layer_1 = new;
layer_1.x = 100;
layer_1.y = 100;
layer_1.set_image;
let mut animation_1 = new;
// 1X -> 2X for 5 sec.
let time = 5.0;
animation_1.apply_scale;
animation_1.apply_translation_x;
animation_1.apply_translation_y;
animation_1.apply_rotation;
layer_1.set_animation;
let mut layer_2 = new_layer;
layer_2.x = 100;
layer_2.y = 100;
layer_2.scale_x = 1.5;
layer_2.scale_y = 1.5;
layer_2.set_color;
let mut animation_2 = new;
animation_2.apply_rotation;
layer_2.set_animation;
let mut layer_3 = new_layer;
layer_3.x = 10;
layer_3.y = 10;
layer_3.set_color;
layer_2.add_sub_layer;
stage.add_sub_layer;
stage.add_sub_layer;
play.add_stage;
// Event loop with winit (see full example for complete implementation)
Picture Viewer
Example file: picture_viewer.rs
Demonstrates event handling and custom user-defined layouts.
Run:
What it does: Creates a thumbnail grid viewer with keyboard navigation and focus animations. Currently implements thumbnail view functionality.
Key concepts demonstrated:
- Custom event handlers (EventHandler trait)
- Keyboard input handling (arrow keys for navigation)
- Focus management (key_focus_in/out events)
- Custom layout implementation (Layout trait)
- Grid-based positioning
Note: This example is a work in progress. Currently, only the thumbnail view is fully functional.
Code snippet:
API Overview
Core Concepts
Play: The main container and render manager
- Manages the rendering loop
- Holds one or more stages
- Handles projection matrices and wgpu context setup
Layer: Visual elements in the scene graph
- Can have position (x, y, z), size (width, height)
- Supports transforms: translate, scale, rotate
- Can have colors or textures
- Supports nested hierarchies (parent-child relationships)
- Can have animations, event handlers, and custom layouts
Animation: Defines time-based property changes
- Apply transformations over time with easing functions
- Supports: translation (x, y), scaling, rotation
- Multiple animations can run simultaneously on one layer
Easing Functions: Control animation timing curves
- Linear, Step
- EaseIn, EaseOut, EaseInOut (sine-based)
- Quad, Cubic, Quart, Quint variants (polynomial-based)
Main APIs
// Create a Play (main container)
let play = new;
// Create layers
let mut layer = new;
layer.x = x;
layer.y = y;
layer.set_color;
layer.set_image;
// Create animations
let mut animation = new;
animation.apply_translation_x;
animation.apply_translation_y;
animation.apply_scale;
animation.apply_rotation;
layer.set_animation;
// Build scene graph
parent_layer.add_sub_layer;
stage.add_sub_layer;
play.add_stage;
// Render
play.render;
Contributing
Contributions are welcome! Here's how you can help:
- Fork the repository
- Create a feature branch (
git checkout -b feature/amazing-feature) - Commit your changes (
git commit -m 'Add some amazing feature') - Push to the branch (
git push origin feature/amazing-feature) - Open a Pull Request
Development Guidelines
- Run
cargo fmtbefore committing to ensure consistent code style - Use the provided
run-check-style.shscript for formatting - Write examples to demonstrate new features
- Update documentation for API changes
Releasing
For information about publishing new versions to crates.io, see RELEASING.md.
Reporting Issues
Found a bug or have a feature request? Please open an issue with:
- Clear description of the problem/feature
- Steps to reproduce (for bugs)
- Expected vs. actual behavior
- System information (OS, Rust version)
License
This project is licensed under the BSD-3-Clause License - see the LICENSE file for details.
Acknowledgments
This project was inspired by:
- GNOME Clutter - A GObject-based graphics library
- Apple Core Animation - Animation infrastructure for macOS and iOS
Dependencies
rust-animation uses several excellent open-source libraries:
- cgmath - Linear algebra and mathematics for graphics
- wgpu - Modern cross-platform graphics API
- image - Image encoding and decoding
- keyframe - Keyframe animation library
- stretch - Flexbox layout engine
- ab_glyph - Font rendering
- winit - Window creation and event loop (examples only)
Author: Joone Hur
Repository: https://github.com/joone/rust-animation