# Hello Terminal
You can get to `hello terminal` pretty quickly:
## Create a New Project
Find the directory in which you want to start developing, and type `cargo init my_project` to create a new project.
## Link Bracket-Lib
Open `Cargo.toml` in the newly created project, and expand the `[dependencies]` section as follows:
```toml
[dependencies]
bracket-lib = "0.8"
```
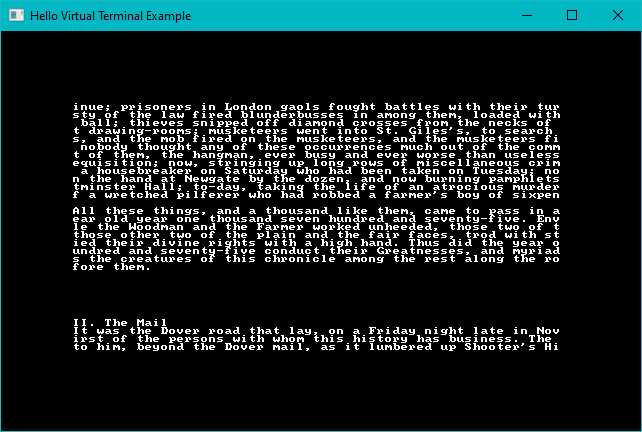
## Hello Minimal Terminal
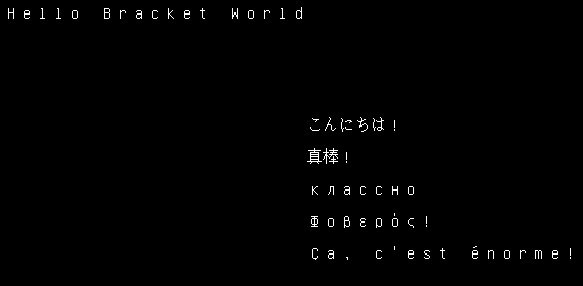
The following code prints "Hello Bracket World" in a new simple console:
```rust
use bracket_lib::prelude::*;
struct State {}
impl GameState for State {
fn tick(&mut self, ctx: &mut BTerm) {
ctx.print(1, 1, "Hello Bracket World");
}
}
fn main() -> BError {
let context = BTermBuilder::simple80x50()
.with_title("Hello Minimal Bracket World")
.build()?;
let gs: State = State {};
main_loop(context, gs)
}
```
This provides what you need for a minimal start:
1. Importing the `prelude` from `bracket_lib` makes the various types and functions available.
2. You have to create a `State` object. This is where your ongoing game state is stored.
3. Implementing `GameState` provides `bracket-lib` with a `tick` function to call on every frame.
4. Your `main` function constructs a terminal---in this case an 80x50 text console.
5. You create a `State` object, even though it doesn't have much state to store.
6. Launching `main_loop` hands control over to `bracket-lib`, and runs the `tick` function on every rendered frame.
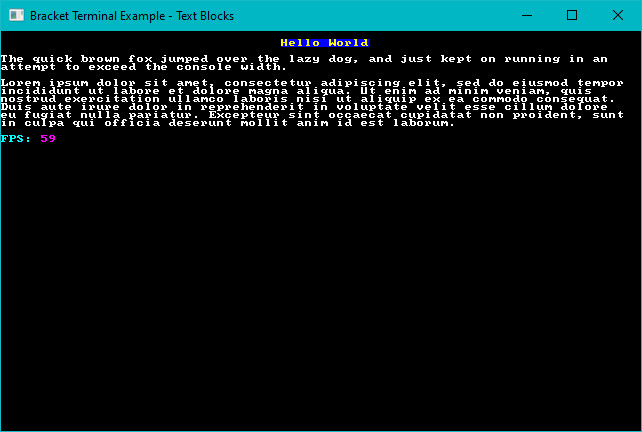
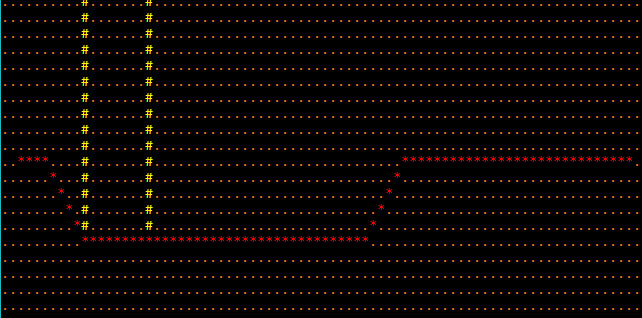
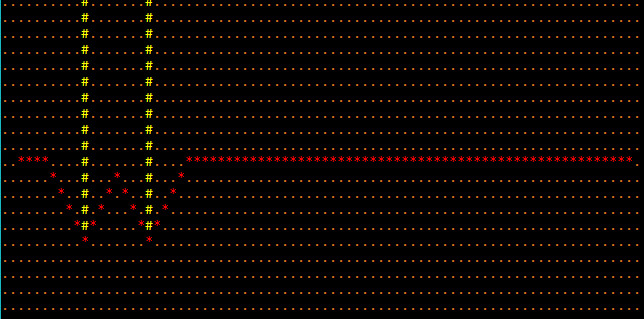
## Bouncy Hello World
Another example (`hello_terminal` in the `bracket-lib` source) provides a bouncing "Hello World". Let's use it to explore some of the features available in the library:
```rust
use bracket_lib::prelude::*;
struct State {
y: i32,
going_down: bool,
}
impl GameState for State {
fn tick(&mut self, ctx: &mut BTerm) {
let col1 = RGB::named(CYAN);
let col2 = RGB::named(YELLOW);
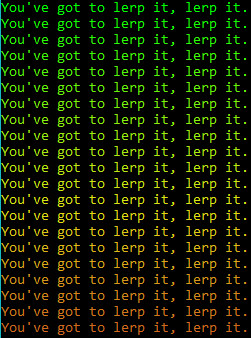
let percent: f32 = self.y as f32 / 50.0;
let fg = col1.lerp(col2, percent);
ctx.cls();
ctx.printer(
40,
49,
"#[blue]Hello #[pink]Bracket#[] world.",
TextAlign::Center,
Some(RGBA::from_u8(200, 200, 200, 255)),
);
ctx.print_color(
1,
self.y,
fg,
RGB::named(BLACK),
"♫ ♪ Hello Bracket World ☺",
);
if self.going_down {
self.y += 1;
if self.y > 48 {
self.going_down = false;
}
} else {
self.y -= 1;
if self.y < 2 {
self.going_down = true;
}
}
ctx.draw_box(39, 0, 20, 3, RGB::named(WHITE), RGB::named(BLACK));
ctx.printer(
58,
1,
&format!("#[pink]FPS: #[]{}", ctx.fps),
TextAlign::Right,
None,
);
ctx.printer(
58,
2,
&format!("#[pink]Frame Time: #[]{} ms", ctx.frame_time_ms),
TextAlign::Right,
None,
);
}
}
fn main() -> BError {
let context = BTermBuilder::simple80x50()
.with_title("Hello Bracket World")
.build()?;
let gs: State = State {
y: 1,
going_down: true,
};
register_palette_color("blue", RGB::named(BLUE));
register_palette_color("pink", RGB::named(MAGENTA));
main_loop(context, gs)
}
```
There's quite a lot to unwrap here, so let's go through a quick tour of using `bracket-lib`.
### The State Structure
Everything your program needs to retain during execution lives in your state structure (well, you could use globals and lazy-statics). In this case, we're storing two variables in `State`:
* `y` stores the current vertical location of the bouncing "Hello Bracket World".
* `going_down` stores whether the words are going up or down at the moment. It changes direction at the top and bottom of the screen.
### Setup
In the `main` function, we start by initializing `bracket-terminal`. We ask for a simple 80x50 console, and title the window. The `build()` function actually creates the window; the other chained functions return an object *describing* what you want. There's a lot of options you can choose, documented elsewhere in this guide.
We initialize `State` with some starting values for the bouncing text. Then we call `register_palette_color`---more on that in "pretty printing", below. Finally, we call `main_loop` to begin running the program---and calling `tick` every frame.
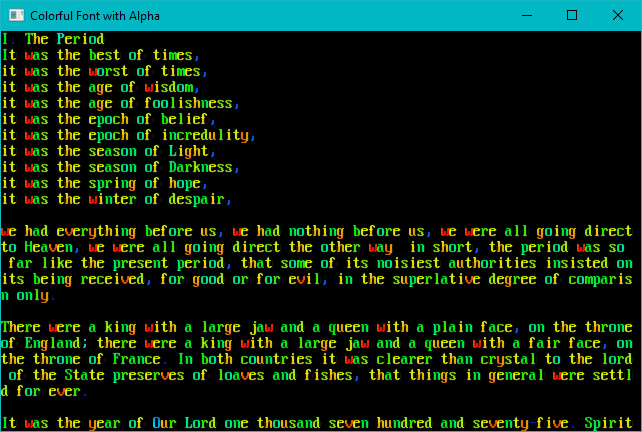
### Printing to the Console
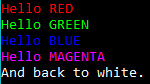
1. The `tick` function starts by defining some colors. The `RGB::named(xxx)` functions return a color object. The library defines all of the W3C named colors; you can also use `from_rgb` to specify one yourself. These colors are then used in various printing functions.
2. Then it does a little dance to figure out where to draw the bouncing hello world.
3. `ctx.cls()` clears the console.
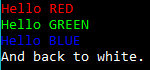
4. `ctx.printer` is then used to "pretty print" the words "Hello Bracket World".
1. The decorators `#[blue]`, `#[pink]` specify that text following that marker should be in the color that was registered wih the `register_palette_color` label.
2. The two numbers (40, 49) are screen coordinates.
3. `TextAlign::center` will center the text horizontally around the specified coordinates.
4. `Some(RGBA::from_u8(200, 200, 200, 255))` describes a background color for the text.
5. Then we use the `print_color` commands, which is a simpler way to put single-color text on the console.
6. Some more `printer` calls, demonstrating different alignments and color settings.
Notice that in the text, we use unicode. `♫ ♪ Hello Bracket World ☺` is valid, because the characters are part of the codepage-437 set---and `bracket-terminal` automatically translates them.
You'll find more detailed usage instructions throughout this document.