# Working with Consoles
`Bracket-terminal` is based around *consoles*. At its base, a console represents a grid. Consoles have a grid dimension, and each cell/tile is addressed through `x` and `y` coordinates:
| 0,0 | 1,0 | 2,0 | 3,0 | 4,0 |
| 0,1 | 1,1 | 2,1 | 3,1 | 4,1 |
| 0,2 | 1,2 | 2,2 | 3,2 | 4,2 |
| 0,3 | 1,3 | 2,3 | 3,3 | 4,3 |
| 0,4 | 1,4 | 2,4 | 3,4 | 4,4 |
*The coordinates extend out to the limits of the console's dimensions.*
## Types of Console
`Bracket-terminal` includes the following types of console:
* **Simple Consoles** store an internal vector, representing each tile of the grid. Each tile/cell is rendered as part of an overall grid structure. Simple consoles are best suited to layers that address a large part of the screen.
* Simple Consoles may or may not contain a background. If they don't include a background, they don't overwrite content behind them.
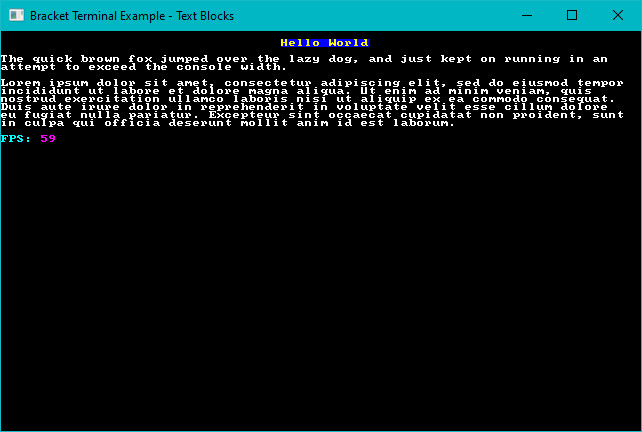
* **Sparse Consoles** store a list of characters to render, and the address at which they are rendered. They are best used when you only want to draw a few things on the screen, typically with a simple console behind them.
* **Fancy Consoles** also store a render list, but add niceties such as fractional coordinates and rotation to characters.
* **Sprite Consoles** store a list of sprites from a sprite sheet, and render them in *pixel* coordinates.
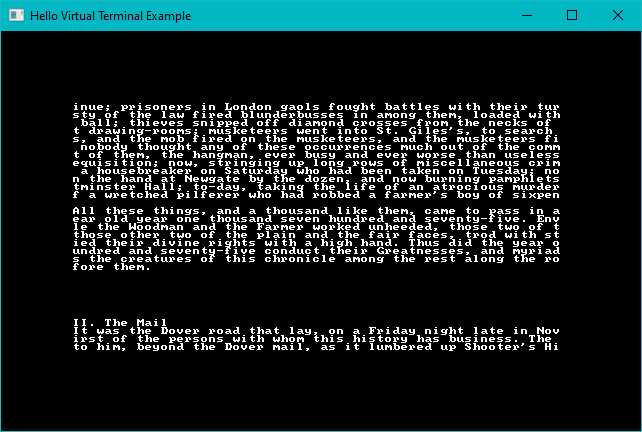
* **Virtual Consoles** aren't rendered, but can store huge amounts of data. Windowing functions make it easy to render parts of the console to another console type. These are great for large blobs of documentation, log files and similar.
## Layers
`Bracket-terminal` supports *layering*. You can have multiple consoles, drawn on top of one another. Consoles can have their own tile sizes, and may be offset or scaled. They are rendered in the order in which they are initialized---the first console is always rendered first, subsequent consoles are rendered on top of them.
You can use layers to render your game with one tileset, characters with another, and HUD/game information in an attractive text font on top of them all.
## Initializing Consoles and Layers
In your `main` function, when you initialize `bracket-terminal` you specify the consoles you require. The simplest possible initialization provides you with a single *simple* layer, containing 80 (width) by 50 (height) cells:
```rust
fn main() -> BError {
let context = BTermBuilder::simple80x50()
.with_title("Hello Minimal Bracket World")
.build()?;
```
Let's have a look at how this works.
### Constructor
So what's really happening here? `BTermBuilder` is a *builder* structure that represents what you'd like to construct. You have to start with a constructor. You have some choices:
* The `default`, `new` default to an 80x50 console, but don't specify any details.
* The `simple80x50` constructor provides everything you need for a default, 8x8 font 80x50 console.
* The `simple(width, height)` constructor provides everything you need for a default, 8x8 font `width` by `height` console.
* The `vga80x50` constructor initializes an 80x50 console, with a VGA 8x16 font registered.
* The `vga(width, height)` constructor provides a VGA 8x16 font console in the specified dimensions.
The *constructor* provides a starting-point for constructing the console. Chances are, you want to specify more information. The constructor does not return a usable context, yet---it provides a builder that lets you add detail to your request.
### Global Builder Options
Some builder functions provide global (whole program) functionality. These include:
* `with_title(string)` lets you specify a window title.
* `with_resource_path(string)` lets you specify where your font files are saved.
* `with_font(filename, character width, character height)` lets you register your own font file.
* `with_font_bg(filename, character width, character height, color)` lets you register a font with an explicit background color that will be converted to transparent.
* `with_vsync(bool)` lets you turn vertical refresh sync on or off. This uncaps your frame rate, but may lead to visual tearing on some systems.
* `with_fullscreen(bool)` lets you specify that the game should try and run in full screen mode, as opposed to a window.
* `with_fps_cap(fps)` lets you cap the maximum frames per second at which the game will render, explicitly sleeping to keep CPU load manageable. If you don't specify an FPS cap, it defaults to 30 frames per second.
* `with_platform_specific(hint)` is used for those times you need to tell a renderer something, but that feature can't work in all render targets. These will be documented in the render targets.
* `with_advanced_input(bool)` lets you change the input mechanism from populating the key/mouse variables to a stream of keyboard/mouse events.
* `with_automatic_console_resize(bool)` lets you change the behavior of resizing the window. Instead of scaling the console up or down to fit the window, a resize event re-calculates the size of the consoles and expands/shrinks them to fit. You can query the current size of a layer from the context in `tick`.
* `with_gutter(size)` adds a gutter around the window, allowing you to letterbox it. This is helpful for alleviating missing characters with rounded windows.
These provide a fair amount of control over the general program. If you want to use layers, or get fancy with your consoles, you often need to specify per-layer information.
### Building Layers
You can add as many layers as you want (I haven't tested the upper bound). There are several builder functions that add layers:
* `with_simple_console(width, height, font filename)` creates a simple console of the specified dimensions, bound to the target font.
* `with_simple_console_no_bg(width, height, font filename)` creates a simple console with no background - it won't overwrite underlying layers. This is useful when you want to layer printed data on top of other layers, but still want a simple console.
* `with_simple_8x8` creates a simple console bound to the internal 8x8 font, using dimensions that were specified with `with_dimensions`. This is mostly provided for compatibility with previous versions.
* `with_sparse_console(width, height, font filename)` creates a sparse console with the specified dimensions and font.
* `with_sparse_console_no_bg(width, height, font filename)` creates a sparse console with the specified dimensions and font. It also sets the "no background" flag, so backgrounds won't be rendered for characters. Instead of blanking the area around a rendered character, it will just render the character data.
* `with_fancy_console(width, height, font filename)` creates a fancy console. These will have their own section in the manual.
* `with_sprite_console(width, height, sprite_sheet)` creates a sprite console. These will also have their own section in the manual.
You can combine these with various `with_tile_dimensions` and `with_dimensions` calls. These calls apply to the most recently added layer, allowing you to customize how they are rendered.
For example, this creates an 80x50 layer (0) in 8x8 mode, and an 80x25 layer (1) in VGA font (8x16):
```rust
let context = BTermBuilder::simple80x50()
.with_font("vga8x16.png", 8u32, 16u32)
.with_sparse_console(80u32, 25u32, "vga8x16.png")
.with_title("Bracket Terminal - Sparse Consoles")
.build()?;
```
A more complicated example (from the Roguelike Tutorial):
```rust
let mut context = RltkBuilder::simple(80, 60)
.unwrap()
.with_title("Roguelike Tutorial")
.with_font("vga8x16.png", 8, 16)
.with_sparse_console(80, 30, "vga8x16.png")
.with_vsync(false)
.build()?;
```
Note that `RltkBuilder` is the same as `BTermBuilder`---it changes its name if you use the library as `RLTK`. This creates an 80x60 simple console, and then registers a VGA-mode 80x30 (half the height) sparse console.
Another example, this from from [Hands-on Rust](https://hands-on-rust.com/):
```rust
let context = BTermBuilder::new()
.with_title("Dungeon Crawler")
.with_fps_cap(30.0)
.with_dimensions(DISPLAY_WIDTH, DISPLAY_HEIGHT)
.with_tile_dimensions(32, 32)
.with_resource_path("resources/")
.with_font("dungeonfont.png", 32, 32)
.with_font("terminal8x8.png", 8, 8)
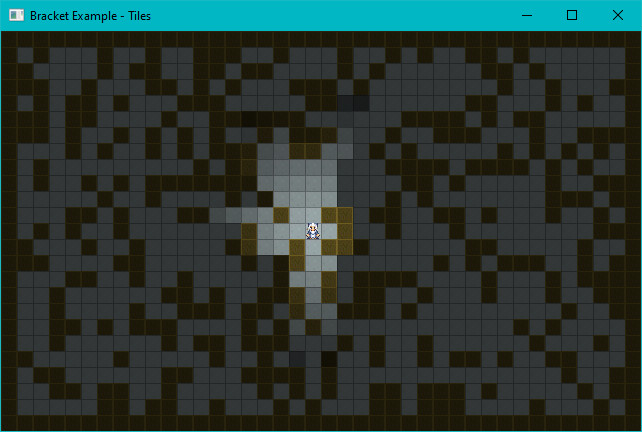
.with_simple_console(DISPLAY_WIDTH, DISPLAY_HEIGHT, "dungeonfont.png")
.with_simple_console_no_bg(DISPLAY_WIDTH, DISPLAY_HEIGHT, "dungeonfont.png")
.with_simple_console_no_bg(SCREEN_WIDTH*2, SCREEN_HEIGHT*2, "terminal8x8.png")
```
This sets a window title and an FPS cap. Then it sets the window size and tile dimensions, and a resource path. It loads the two fonts, and sets up three layers: a simple console for the map, a simple console for characters, and a text layer over the top.
### Constructing Your Session
Once you're done with specifying details, you finish the builder chain with `.build()`. It returns a `Result` type, so it's handy to use the `?` syntax---but you can handle errors however you wish. Sometimes, you asked for the impossible---or the underlying system just won't cooperate with your wishes. These generate errors. Otherwise, you receive a usable context---which you can run with the `main_loop` function and your game state (see below).
## Handing Over Control
`Bracket-terminal` takes over control of the main game loop. It does this because it needs to continually interact with your operating system (or browser in WASM mode), marshall events and handle redrawing the screen. You need to create a `State` object that *must* implement `GameState`---and begin execution with `main_loop(my_state)`.
For example, the following from "hello terminal" hands over control:
```rust
use bracket_lib::prelude::*;
struct State {}
impl GameState for State {
fn tick(&mut self, ctx: &mut BTerm) {
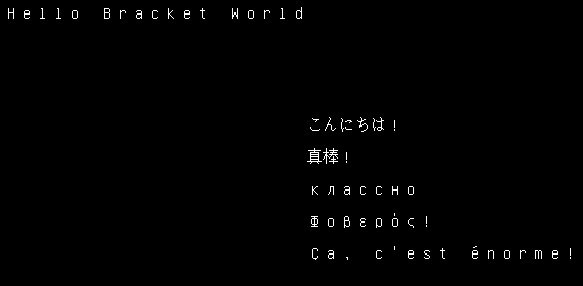
ctx.print(1, 1, "Hello Bracket World");
}
}
fn main() -> BError {
let context = BTermBuilder::simple80x50()
.with_title("Hello Minimal Bracket World")
.build()?;
let gs: State = State {};
main_loop(context, gs)
}
```
The `tick` function in your `GameState` implementing structure is called every frame.