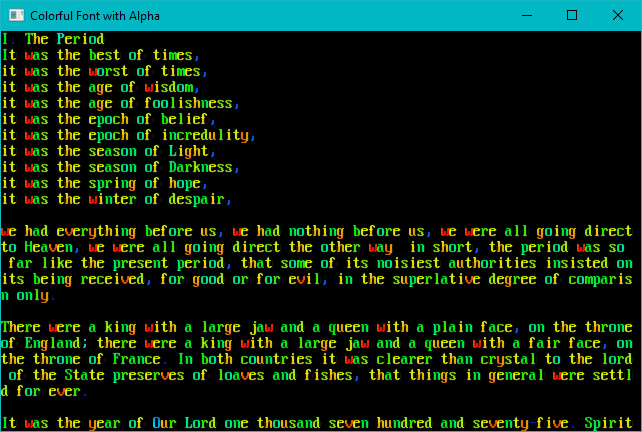
# Printing to Consoles
Probably the most common thing to do with a console is to print text to it. This can be actual text, or characters mapped to sprites in your font file---but it's a *really* common task. `Bracket-terminal` provides a lot of different ways to do this.
## Interacting with Your Context
Your `tick` function receives a `ctx: &mut BTerm` parameter. This provides a link between your program and the terminals. Almost all of the direct control functions are called as methods on the `ctx`. You'll need to pass your context (or parts of it) to child functions in your program. This allows your program to control the console, while the library retains overall control of execution.
> Passing a mutable reference around can be a pain. That's why there are other options, which will be covered later.
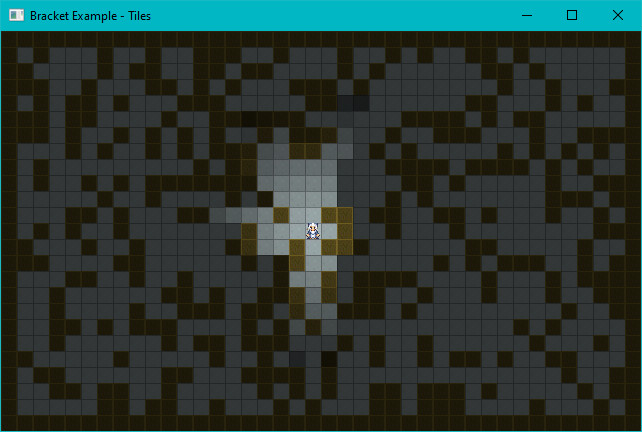
## Working with Layers
If you have multiple layers, you need to make sure that you call `ctx.set_active_console(index)` to activate the one you wish to target. Most draw commands are passed through to the underlying console---the library needs to know where to send them. It's a good idea to remember to call `set_active_console(0)` at the end of your session, to ensure you don't forget to change back to the default on another pass.
## Direct Drawing Commands
There are *many* different options for drawing to the console.
### Clearing the Screen
You have two options for clearing a console: `ctx.cls()` clears the screen to a black background, `ctx.cls_bg(color)` clears the console to a specified background color (and has no effect on layers without background).
You often want to clear the console at the start of a tick, if you plan to draw the whole screen. Some optimizations may occur that make it *not really* clear and redraw everything, especially in Curses and Crossterm modes.
### Specifying Characters
Characters need to be selected from the `codepage-437` list. There's a [great chart](https://dwarffortresswiki.org/index.php/Character_table) showing CP-437 here.
You can convert a Rust character into a codepage-437 character with `to_cp437('X')`.
### Printing a Single Character/Glyph
You can print a single CP-437 character with the `ctx.set(x, y, foreground, background, glyph)` command. This is mostly used by the `print` commands, but you can use it yourself if you wish.
For example:
```rust
ctx.set(1, 1, RED.into(), BLACK.into(), to_cp437('☺'));
```
This will set the character at 1,1 (near the top-left) to a red smiley face with a black background.
You can also use `ctx.set_bg(x, y, color)` to set just the background color a cell.
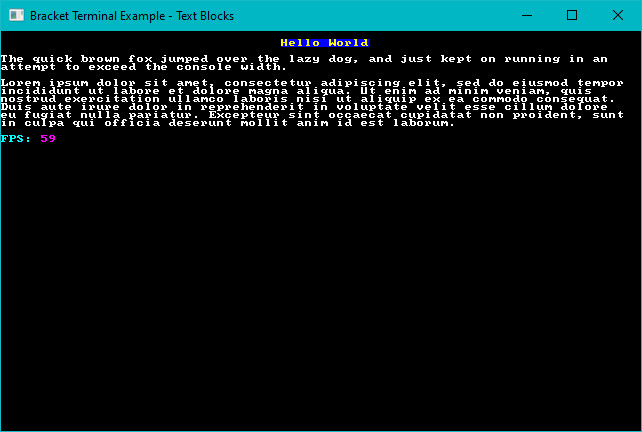
### Printing Strings
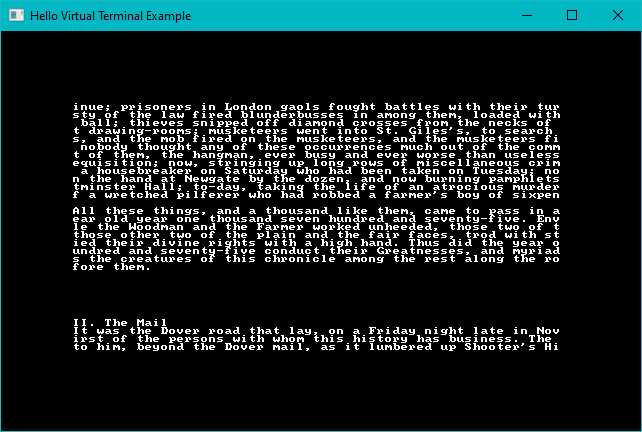
You can print a string with the `ctx.print(x, y, string)` function. You don't need to convert the characters in the string---the library does it for you. No color is specified, it will just use black/white.
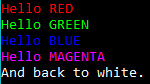
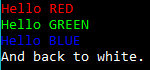
If you'd like to print in color, `ctx.print_color(x, y, foreground, background, string)` works the same way---but specifies the colors to use.
You can center your text (horizontally) around a given `y` coordinate with `print_centered(y, string)` and `print_color_centered(y, fg, bg, string)`. These center relative to the whole panel.
You can also center your text around a specific point with `print_centered_at(x, y, text)` and its friend `print_color_centered_at(x, y, fg, bg, string)`.
You can right-justify your text with `print_color_right(x, y, fg, bg, string)` and `print_right(x, y, string)`.
I didn't want to tackle full-justification. Hyphenation systems are painful.
### Printing with More Control
If you need to do fancy things like having different words in different colors, you can use the `ctx.printer` system:
```rust
printer(x, y, string, alignment, background)
```
* The `x` and `y` coordinates behave as you'd expect.
* `alignment` takes a `TextAlign` enum: `TextAlign::Left`, `TextAlign::Center` or `TextAlign::Right`.
* `background` is an `Option`. So either specify `None` (for no background), or `Some(color)`.
Text in the printer accepts control characters to specify colors. You have to register these with calls to `register_palette_color` (typically in your main function. It's a free function, not attached to your context). You can then use control characters inside your string. They are a *stack*---so you have to exit out once you are done with formatting.
For example:
```rust
register_palette_color("blue", RGB::named(BLUE));
register_palette_color("pink", RGB::named(MAGENTA));
```
This code assigns the name "blue" and "pink" to appropriate RGB colors. In your `tick` function, you can then use `printer` as follows:
```rust
ctx.printer(
40,
49,
"#[blue]Hello #[pink]Bracket#[] world.",
TextAlign::Center,
Some(RGBA::from_u8(200, 200, 200, 255)),
);
```
Notice that `#[]` is used to end the color. This will print "Hello" and "world" in blue, and "Bracket" in pink. The `#[]` has popped the stack---reverting to the *previously specified* color.
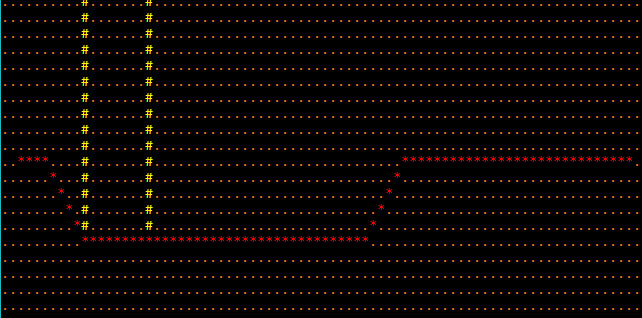
### Drawing Boxes
You can use the `ctx.draw_box(x, y, width, height, foreground, background)` function to draw a single-lined box at the specified coordinates.
Likewise, `ctx.draw_box_double(x, y, w, h, fg, bg)` does the same thing---but with double-lines.
Both of these functions zero out the contents of the box. If you don't want to do that, `draw_hollow_box` and `draw_hollow_box_double` omit this step, but otherwise operate in the same way.
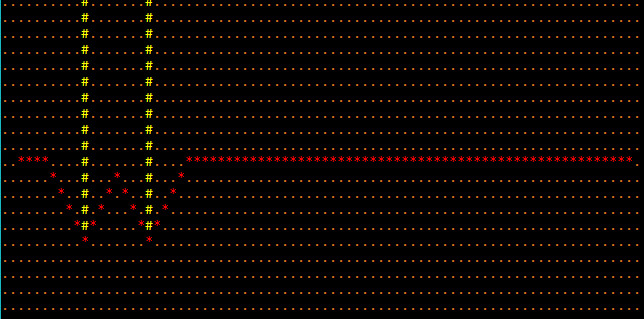
### Drawing Progress/Scroll/Health Bars
The function `ctx.draw_bar_horizontal` renders a bar, with a specified percentage in one color and a percentage in another. The full syntax is:
```
draw_bar_horizontal(x, y, width, number, max, foreground, background)
```
Specify `number` as the current number, bounded by `max`. For example, a health bar showing 6 out of 12 possible hit points remaining would use a `number` of `6` and ` max` of 12.
If you'd like to do the same thing, but with a vertical bar you can use:
```
draw_bar_vertical(x, y, height, number, max, foreground, background)
```
### Filling a Region
You can fill a rectangular region of the screen with the `ctx.fill_region(target, symbol, foreground, background)` function. `target` is a `Rect` from `bracket-geometry`.
# Other Console Options
There are a bunch of other console-related functions.
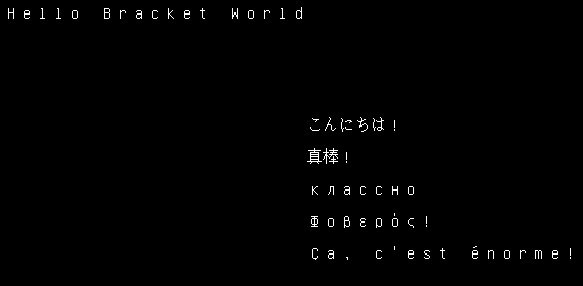
## Controlling String Translation
You can change the console's translation mode with `set_translation_mode`. By default, all strings are turned into `cp437`. If you are using a big unicode font, you can change to `CharacterTranslationMode::Unicode` to support it. See the `unicode` example for details.
## Clipping Rendering
If you only want your rendering to apply to a given region of the screen, you can call `ctx.set_clipping(Some(Rect))` (and remove it with `ctx.set_clipping(None)`). Rendered characters will only appear if they are within the clipping region. This can be handy for limiting window rendering.
## Changing Font
You can change a console to use any registered font on the fly with `ctx.set_active_font(font index, bool)`. If the bool is true, the console will resize to the dimensions implied by the font size. The "font index" is the order in which the font was inserted.
You can override the internal size of a font with `ctx.set_char_size`. Use this with caution. A better approach to resizing is to call `ctx.set_char_size_and_resize_window(width, height)`. This doesn't work on all platforms.
## Changing Alpha
You can change the alpha-level of ALL characters on a layer with `set_all_fg_alpha` and `set_all_bg_alpha`. The `set_all_alpha` applies your change to both foregrounds and backgrounds.
## Scaling the Console
You can set a console scale with `set_scale` (and query it with `get_scale`). This allows you to "zoom in" on a layer. It's not commonly used.
## Saving a Console
You can save the current state of a console to a REX Paint file by calling `to_xp_layer`. You can take a `PNG` screenshot with `ctx.screenshot(filename)`.