
Mull 📖

Mull is a tool for managing a wiki stored in a plain text file. It has a Visual Studio Code / Cursor extension which provides syntax highlighting, hover previews, completions, diagnostics, formatting, refactoring, etc.
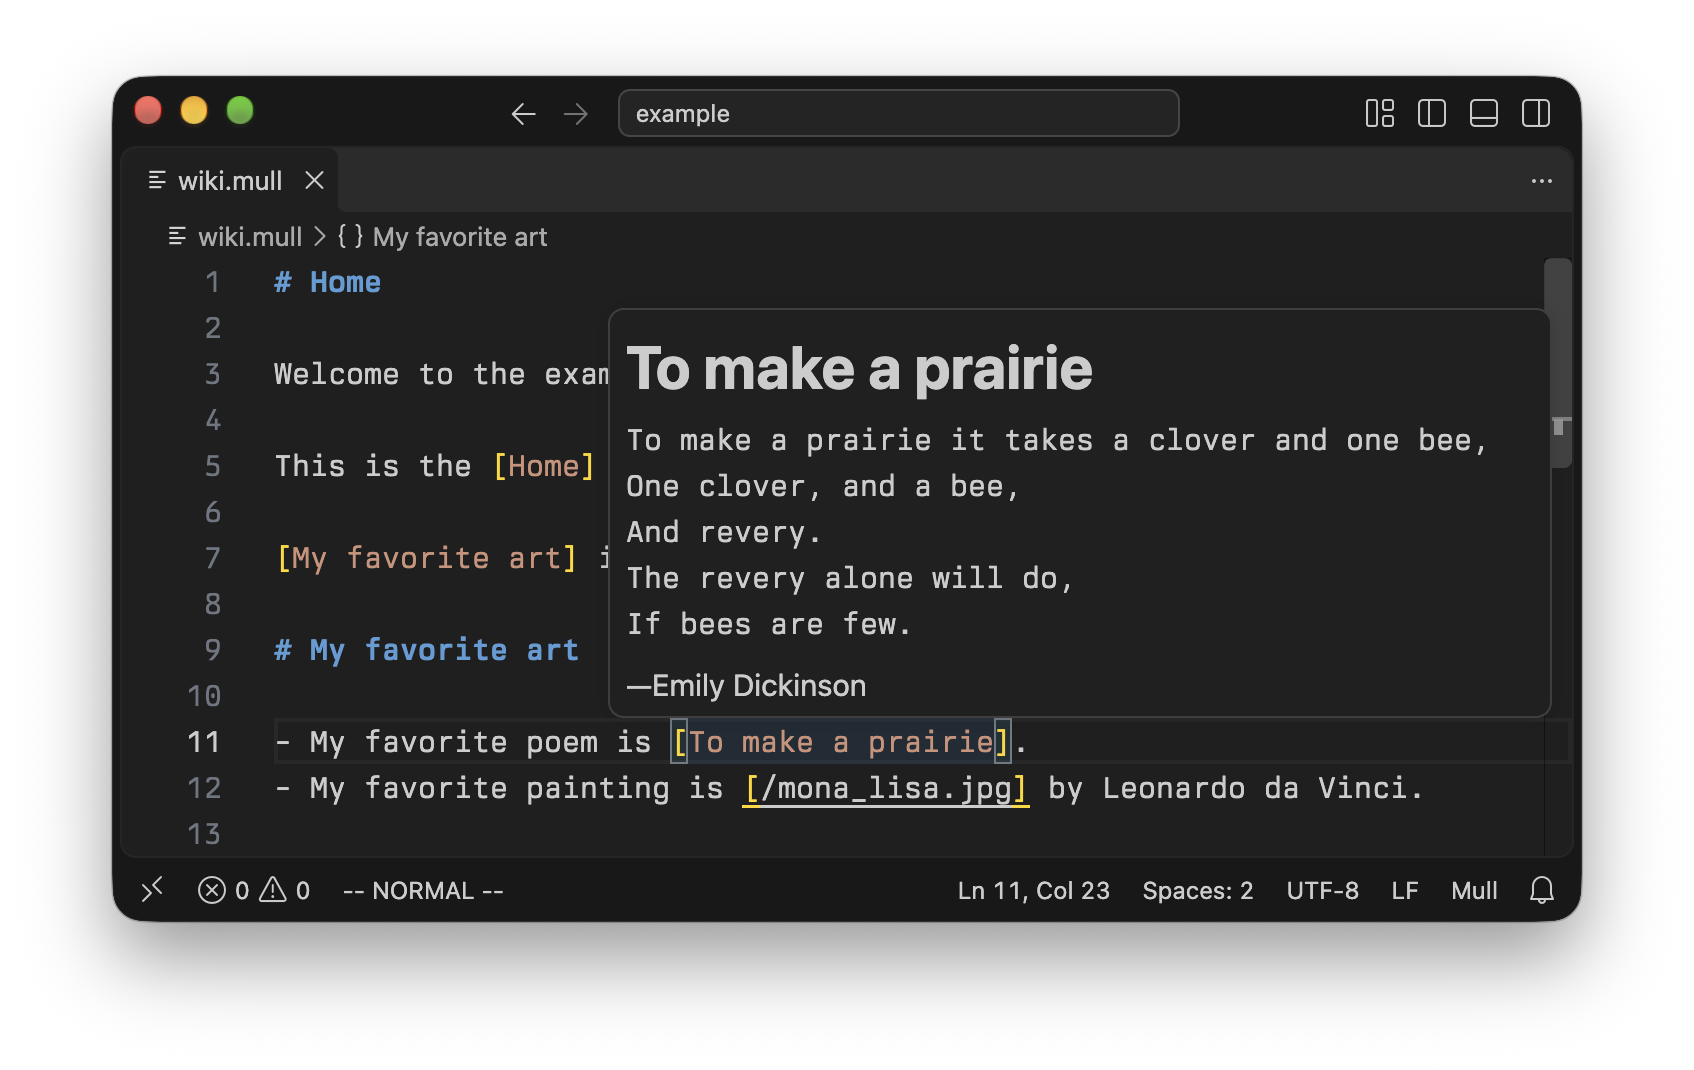
Since Mull runs in Visual Studio Code or Cursor, you can use it with your favorite settings and extensions. For example, the screenshot above shows the Berkeley Mono typeface with the Monokai Pro (Filter Spectrum) color theme.
A quick tour
A Mull wiki is a text file with a .mull extension. It contains pages which link to each other, all in the same file. Here's a small wiki with 3 pages:
Try my [Pancakes] with fresh [Lemons].
Great on [Pancakes].
- ---Each page starts with a # Title, followed by the contents of the page on subsequent lines, up to the next page or the end of the file.
To link to a page, use square brackets like [Lemons]. When you type the opening [, autocomplete will kick in to help you find the target page.
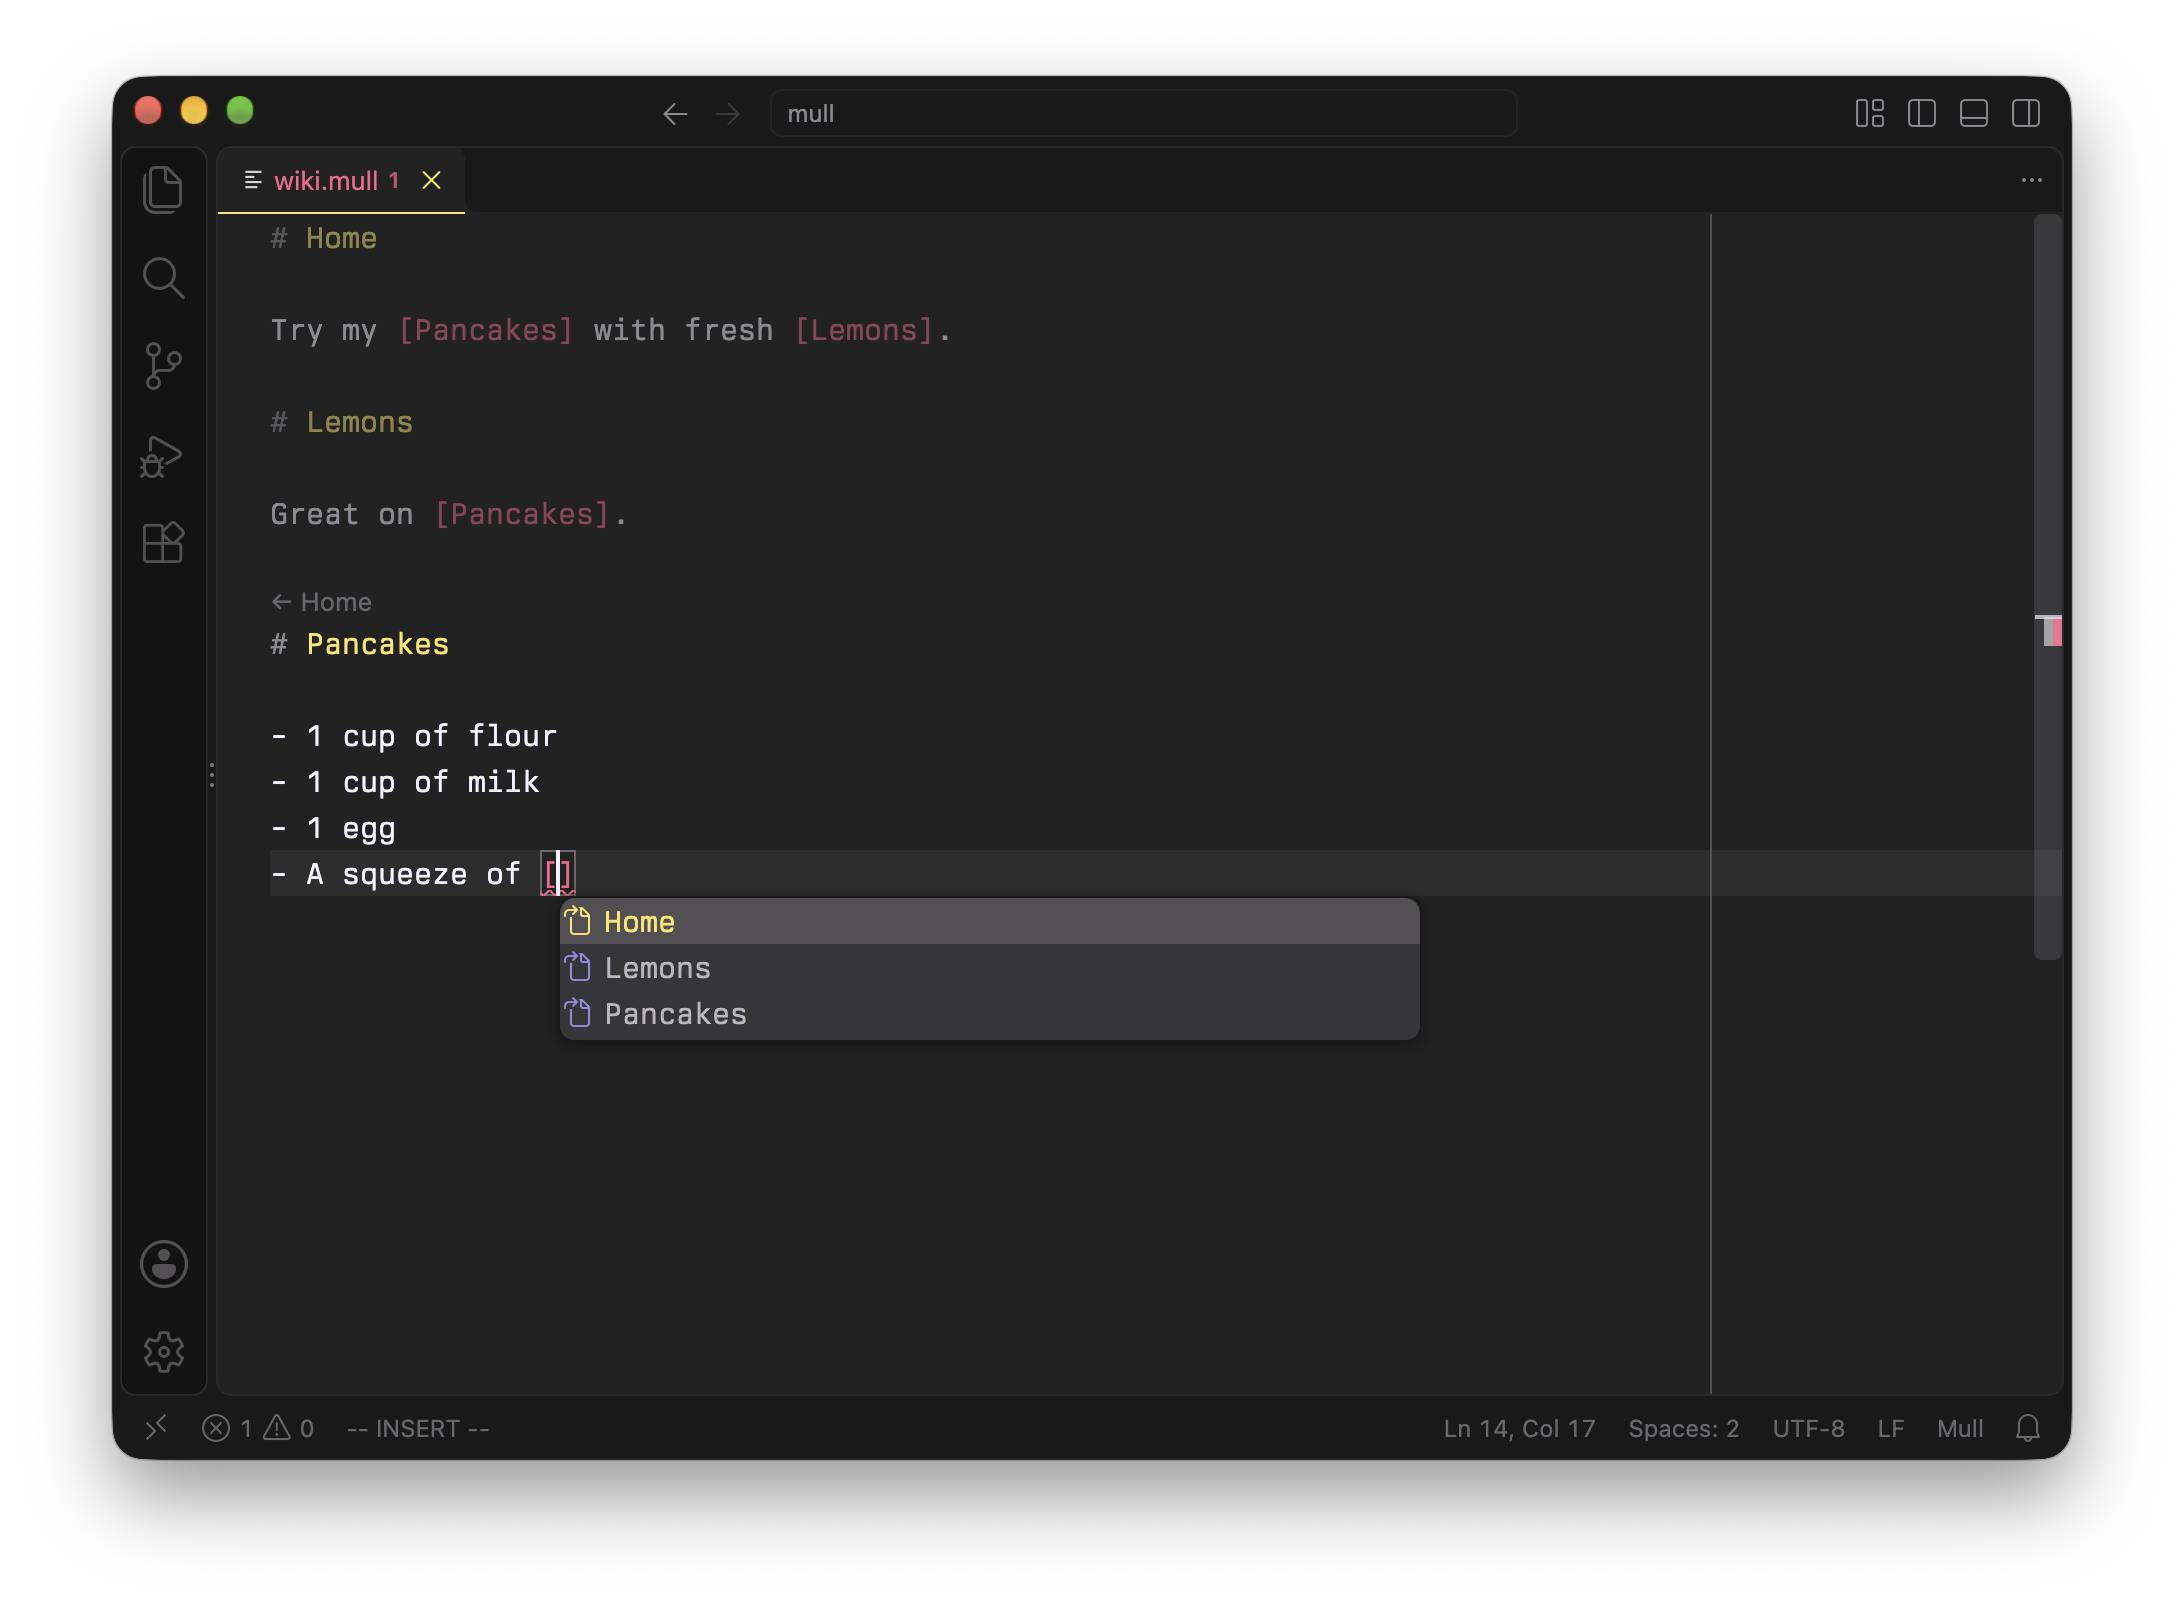
If the wiki is called my_wiki.mull, for example, then you can put files (images, PDFs, spreadsheets, etc.) in a directory named my_wiki_files (in general, <wiki>_files) and link to them like [/photos/beach.jpg].
To use a special symbol like [ or ] literally, put a backslash before it, like \[. You can also use backticks to denote verbatim text like `this`, as in Markdown. Fenced code blocks are supported too.
What does Mull check?
Mull validates the wiki as you edit it, which looks like this:
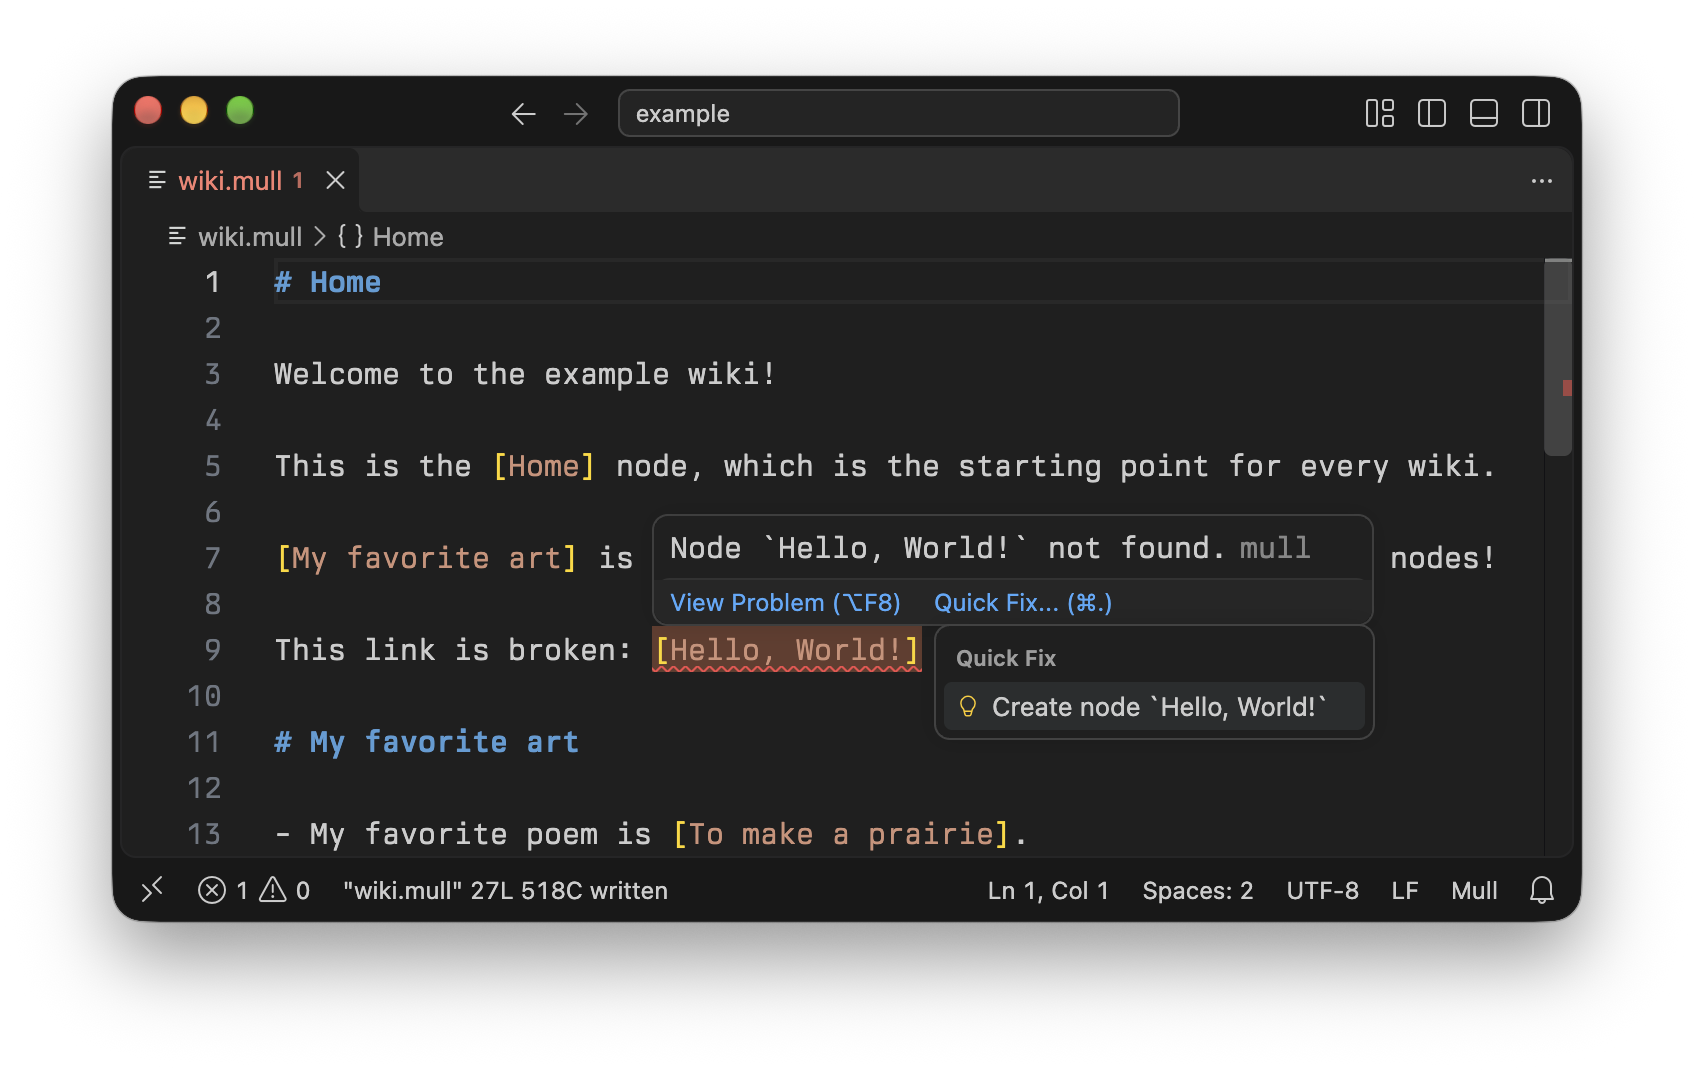
It verifies these structural properties:
- The wiki has valid syntax (links are closed, etc.).
- Pages have unique titles.
- Links have valid targets. A link can point to a
[page],[/file], or[/directory/].
It also verifies these connectivity properties:
- All pages are reachable by following links from the
Homepage, which must exist. - All files in the
<wiki>_filesdirectory (if it exists) are linked to from the wiki.
Mull formats the wiki for you when you save the file, or when you explicitly request it. It chooses the ordering of the pages in the file, so you don't have to think about that. Linking to pages is the only way to organize them. Mull requires that every page is reachable by following links starting from the Home page. This promotes a basic form of organization that makes Mull different from other wiki software.
Keyboard shortcuts
These common keyboard shortcuts are helpful when navigating and editing a wiki:
| Action | macOS | Windows |
|---|---|---|
| Jump to a page from a link | F12 or Command + click |
F12 or Control + click |
| Jump to links to a page (i.e., backlinks) | Shift + F12 |
Shift + F12 |
| Jump back to the previously visited page | Command + [ |
Alt + Left |
| Jump forward to the next visited page | Command + ] |
Alt + Right |
| Jump to the start of the current page | Command + Up |
Control + Home |
| Jump to the end of the current page | Command + Down |
Control + End |
| Jump to the next error | F8 |
F8 |
| Jump to the previous error | Shift + F8 |
Shift + F8 |
| Find a page | Command + Shift + O |
Control + Shift + O |
| Code actions (e.g., create a missing page) | Command + . |
Control + . |
| Show completions | Control + Space |
Control + Space |
| Rename a page | F2 |
F2 |
| Format the wiki | Shift + Option + F |
Shift + Alt + F |
Most of these keyboard shortcuts are built into Visual Studio Code and Cursor, so they may be familiar to you already. You can remap them.
Usage
Once Mull is installed for Visual Studio Code or Cursor, you can run it by opening a .mull file in the editor.
You can also run Mull from the command line (e.g., in a CI job) as follows:
Here are the supported command-line options:
Usage: mull [COMMAND]

Commands:
  check            Check a wiki
  format           Format a wiki (default)
  language-server  Start the language server (editors use this)
  help             Print this message or the help of the given subcommand(s)

Options:
  -v, --version  Print version
  -h, --help     Print help
Installation instructions
To use Mull, you must install the binary and optionally the Visual Studio Code / Cursor extension. The binary does all the work and can be used by itself from the command line. The IDE extensions use the binary to provide a rich wiki editing experience.
Installation on macOS or Linux (AArch64 or x86-64)
If you're running macOS or Linux (AArch64 or x86-64), you can install Mull with this command:
|
The same command can be used again to update to the latest version.
If Visual Studio Code or Cursor is installed, that command also installs the Mull extension in each editor it finds.
The installation script supports the following optional environment variables:
VERSION=x.y.z(defaults to the latest version)PREFIX=/path/to/install(defaults to/usr/local/bin)
For example, the following will install the binary into the working directory:
| PREFIX=.
Note that if you change the installation path, you may also need to change the mull.executablePath accordingly in Visual Studio Code or Cursor.
If you prefer not to use this installation method, you can download the binary from the latest release, make it executable (e.g., with chmod), and place it in some directory in your PATH (e.g., /usr/local/bin). You can then follow the instructions below to install the Visual Studio Code / Cursor extension.
Installing the binary on Windows (AArch64 or x86-64)
If you're running Windows (AArch64 or x86-64), download the binary from the latest release and rename it to mull (or mull.exe if you have file extensions visible). Create a directory called Mull in your %PROGRAMFILES% directory (e.g., C:\Program Files\Mull), and place the renamed binary in there. Then, in the "Advanced" tab of the "System Properties" section of Control Panel, click on "Environment Variables..." and add the full path to the new Mull directory to the PATH variable under "System variables". Note that the Program Files directory might have a different name if Windows is configured for a language other than English.
To update an existing installation, simply replace the existing binary.
Installing the binary with Cargo
If you have Cargo, you can install Mull as follows:
You can run that command with --force to update an existing installation.
Installing the Visual Studio Code / Cursor extension
First, make sure you have Visual Studio Code or Cursor installed.
To install the Mull extension, download the mull.vsix file from the latest release and install it via the "Install from VSIX..." option in the ... menu at the top of the Extensions view of the Primary Side Bar.
Note that the macOS / Linux installation command will install the extension automatically, so you can skip this section if you use that installation method.
To update an existing installation, simply re-install it.