
🍁 Maple 🍁
A simple 3D Game Engine in Rust!
Features
3D Model Support: load and manipulate 3D GLTF models
Customizable: create your own Nodes and use predefined nodes for more specific functionality
Write Your Own Shaders: write your own shaders with GLSL
Easily Add UI's: using egui you can easily set up a UI
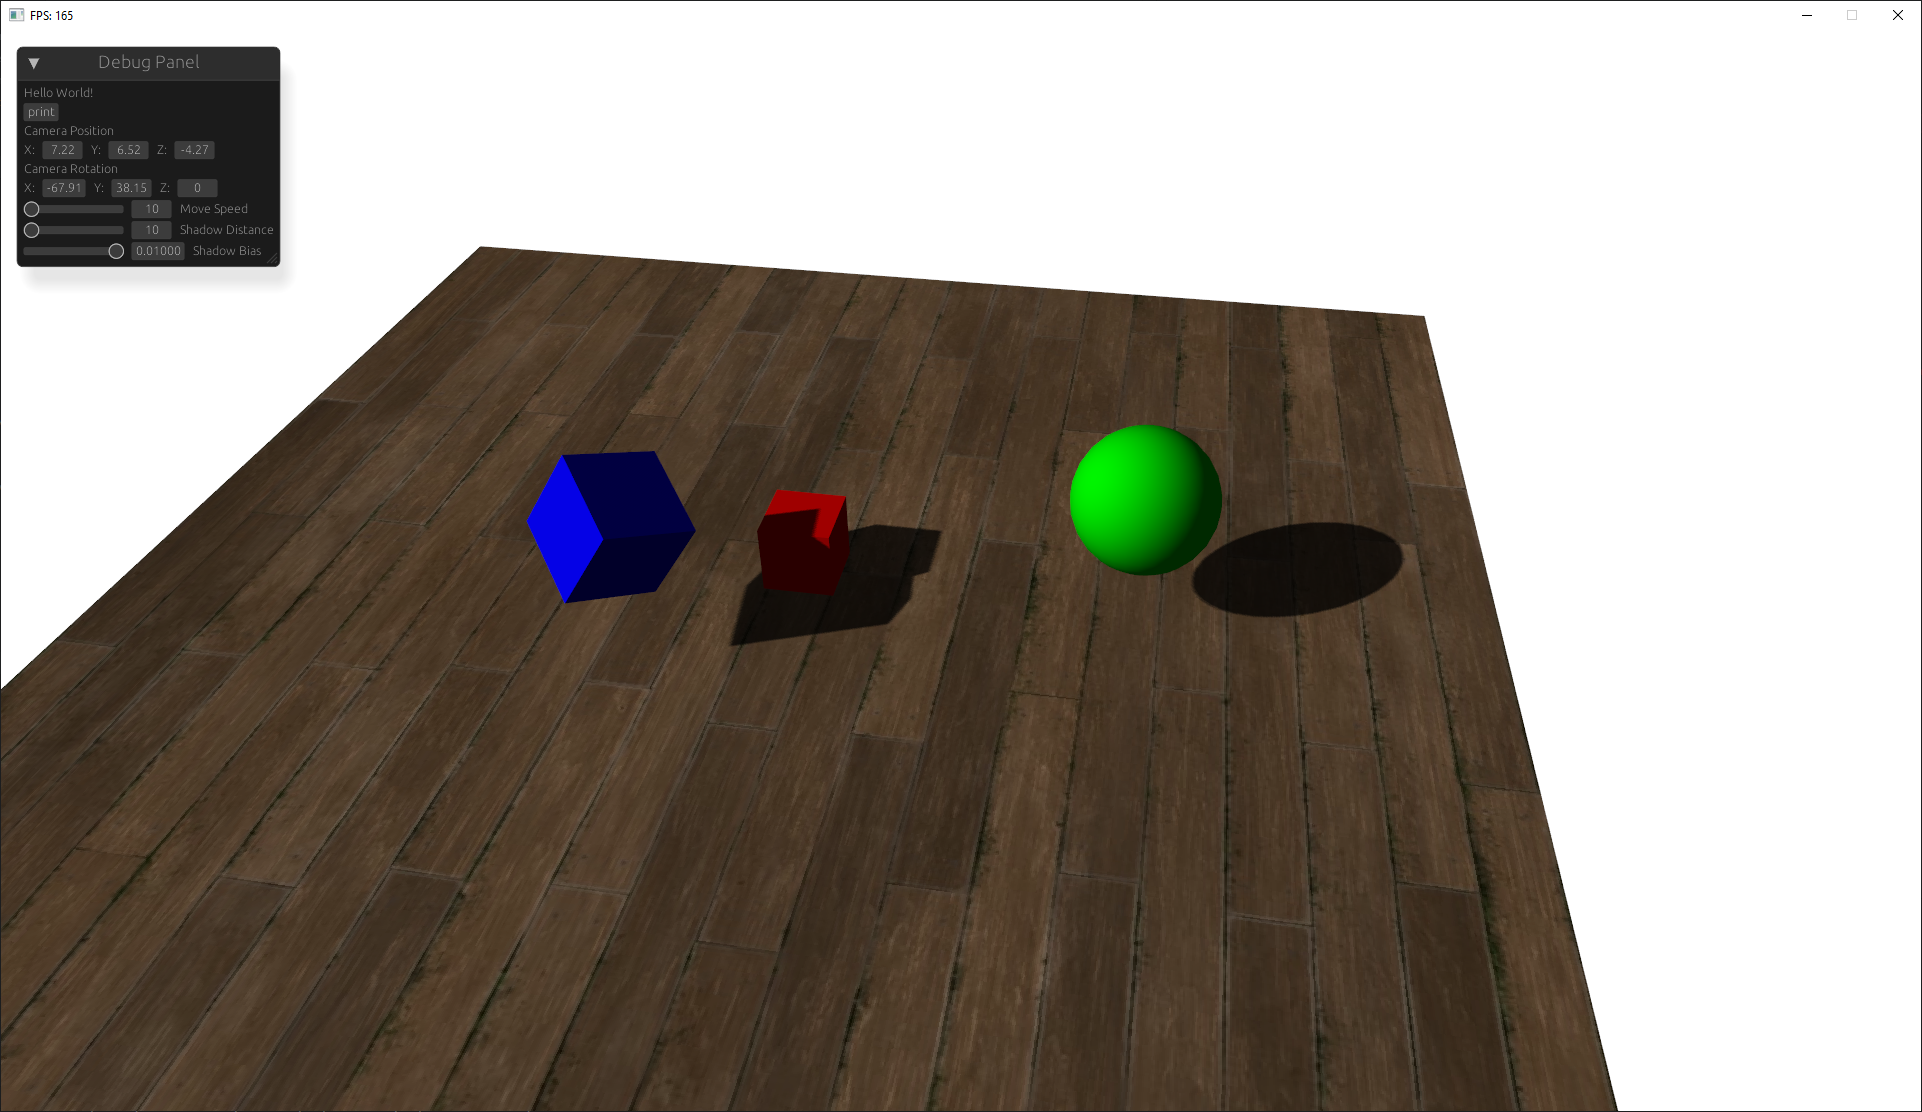
Example Images
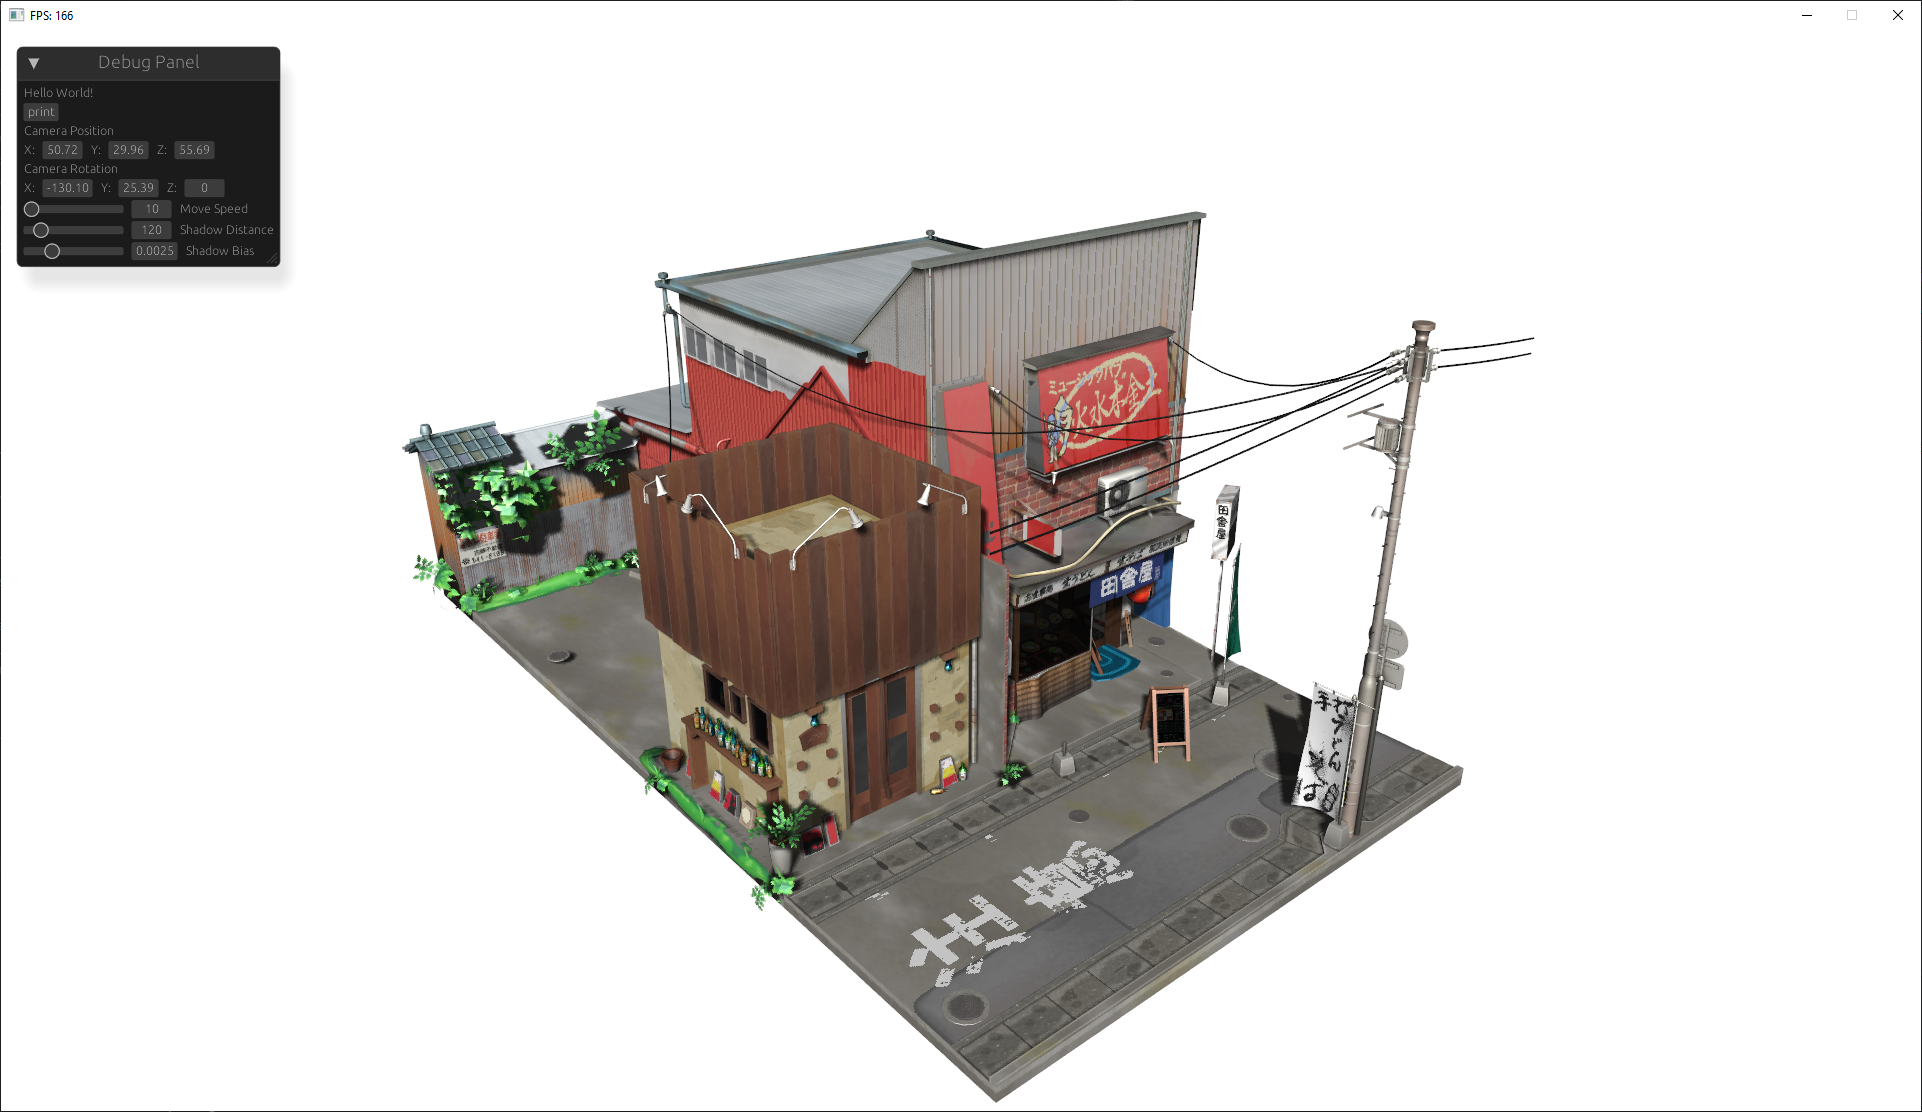 This work is based on "Japanese Restaurant Inakaya" by MGuegan, licensed under CC BY 4.0.
Guide to using the Engine
this guide goes over the basics of initializing the engine, adding nodes, and defining custom nodes.
you can find the code used in this tutorial here.
Initialization
lets start out by creating the bare minimum code to create and start the engine.
use ;
use ;
if you run this code it creates a window at 1920x1080 resolution, but its a bit empty so next we'll create a scene.
Scene Creation
in this section we'll create the engine's scene. scenes can be defined then added to the engine to render that scene.
to keep it as organized, we should define the scene in a seperate file then import it into main.
use Scene;
;
this code creates a function that will build the scene when called
before we add Nodes to the scene lets load this scene into the engine
use ;
use ;
// create and import the main scene module
use MainScene;
Node Creation
now we can finally add nodes to the Scene!
Nodes are easiest to build with the NodeBuilder which is a struct that helps define nodes. we'll use this to create a model and camera.
Model
lets create a pyramid model.
use Scene;
use ;
scene
.add;
Camera3D
thats great but the engine doesnt know where to render the pyramid from for that we need a camera. cameras define the perspective so we'll need to position it properly.
use ;
scene.add;
nning local AI models both on a Your scene file should now look like this:
use ;
;
Lighting
If everything has gone well then when you run the program you can see a window pop up and a pyramid in the center of the screen. However, the mesh is really dark since its just being lit by ambient light so now adding a light and some ground to the scene should help.
use ;
scene.add;
scene.add;
Contributing
Contributions are welcome! If you have suggestions for improvements, feel free to create a pull request or open an issue.
License
This project is licensed under the MIT License