# fast-umap
UMAP (Uniform Manifold Approximation and Projection) in Rust
This repository contains a Rust implementation of **UMAP** (Uniform Manifold Approximation and Projection), a dimensionality reduction algorithm that preserves both the local and global structure of data. UMAP is widely used for visualizing high-dimensional data in 2D or 3D space.
This implementation leverages the [burn](https://github.com/tracel-ai/burn) machine learning framework, which provides automatic differentiation and GPU support, allowing you to train and apply UMAP models on high-dimensional datasets efficiently.
## Features
- **Dimensionality Reduction**: Reduces high-dimensional data to a lower-dimensional space (e.g., 2D or 3D) for visualization or further analysis.
- **Customizable UMAP Model**: The model architecture can be configured with different numbers of input features, hidden layer sizes, and output dimensions.
- **GPU Support**: Powered by the `burn` framework with support for training on CPU and GPU using the `wgpu` backend.
- **Flexible Data Handling**: Functions for converting between vectors and tensors, generating synthetic data, and more.
## Roadmap
- [ ] Add MNIST dataset example
- [ ] Create testbench to compare different hyper parameters (`patience` vs `n_features` vs `epochs` etc.)
## Installation
```shell
cargo add fast-umap
```
## Example Usage
### 1. Fitting a UMAP Model
You can fit a UMAP model to your data using the `UMAP::fit` function. Here's how to do it:
```rust
use burn::backend::Autodiff;
use burn::backend::wgpu::{Wgpu, WgpuDevice};
use fast_umap::prelude::*;
fn main() {
// Example data (list of samples, each with a list of features)
let data: Vec<Vec<f64>> = vec![
vec![1.0, 2.0, 3.0],
vec![4.0, 5.0, 6.0],
vec![7.0, 8.0, 9.0],
// Add more samples...
];
// Fit the UMAP model
let model = umap(data);
// You can now use the model to transform new data
let transformed = model.transform(data);
// Print the transformed data (low-dimensional representation)
for sample in transformed {
println!("{:?}", sample);
}
}
```
### 2. Transforming Data
Once the UMAP model is trained, you can transform new high-dimensional data into its low-dimensional representation:
```rust
let transformed_data = model.transform(new_data);
```
This function will take `new_data` in the form of `Vec<Vec<f64>>` and return its 2D or 3D representation, suitable for visualization.
### 3. Generating Test Data
You can generate synthetic test data to experiment with the UMAP model using the `generate_test_data` function:
```rust
let data = generate_test_data(100, 50); // 100 samples, each with 50 features
```
### 4. Visualizing Data
After transforming the data to a 2D or 3D space, you can use external charting libraries (e.g., `plotters` in Rust or `matplotlib` in Python) to visualize the results.
## Model Configuration
The UMAP model configuration is customizable through the `UMAPModelConfigBuilder`. You can set the following parameters:
- **input_size**: Number of input features (i.e., the dimensionality of the data).
- **hidden_size**: The number of neurons in the hidden layers.
- **output_size**: The target number of dimensions (typically 2 or 3 for visualization).
Here's how to configure and build the model:
```rust
let model_config = UMAPModelConfigBuilder::default()
.input_size(50) // Input features: 50 dimensions
.hidden_size(100) // Hidden layer size: 100 neurons
.output_size(2) // Output size: 2 (for 2D visualization)
.build()
.unwrap();
```
## Training the UMAP Model
You can train the UMAP model on your dataset by calling the `fit` method on the `UMAP` struct. The training process will optimize the model's weights to reduce the data's dimensionality.
Training configuration parameters include:
- **epochs**: The number of epochs to train the model.
- **batch_size**: The number of samples per training batch.
- **learning_rate**: The learning rate for gradient descent.
- **beta1**, **beta2**: Optimizer hyperparameters for Adam optimization.
For example:
```
let model = UMAP::<Autodiff<Wgpu>>::fit(data, WgpuDevice::default());
```
## Examples
### Simple
```shell
cargo run --example simple
```
Sample code:
```rust
use fast_umap::prelude::*;
use rand::Rng;
fn main() {
// Number of samples in the dataset
let num_samples = 100;
// Number of features (dimensions) for each sample
let num_features = 3;
// Create a random number generator for generating random values
let mut rng = rand::thread_rng();
// Generate a dataset of random values with `num_samples` rows and `num_features` columns
let data: Vec<Vec<f64>> = (0..num_samples * num_features)
.map(|_| rng.gen::<f64>()) // Random number generation for each feature
.collect::<Vec<f64>>() // Collect all random values into a vector
.chunks_exact(num_features) // Chunk the vector into rows of length `num_features`
.map(|chunk| chunk.to_vec()) // Convert each chunk into a Vec<f64>
.collect(); // Collect the rows into a vector of vectors
// Fit the UMAP model to the data and reduce the data to a lower-dimensional space (default: 2D)
let umap = umap(data.clone());
// Transform the data using the trained UMAP model to reduce its dimensions
let reduced_dimensions_vector = umap.transform(data.clone());
// Visualize the reduced dimensions as a vector
chart_vector(reduced_dimensions_vector, None);
// Optionally, you can also visualize the reduced dimensions as a tensor
// let reduced_dimensions_tensor = umap.transform_to_tensor(data.clone());
// print_tensor_with_title("reduced_dimensions", &reduced_dimensions_tensor);
// chart_tensor(reduced_dimensions_tensor, None);
}
```
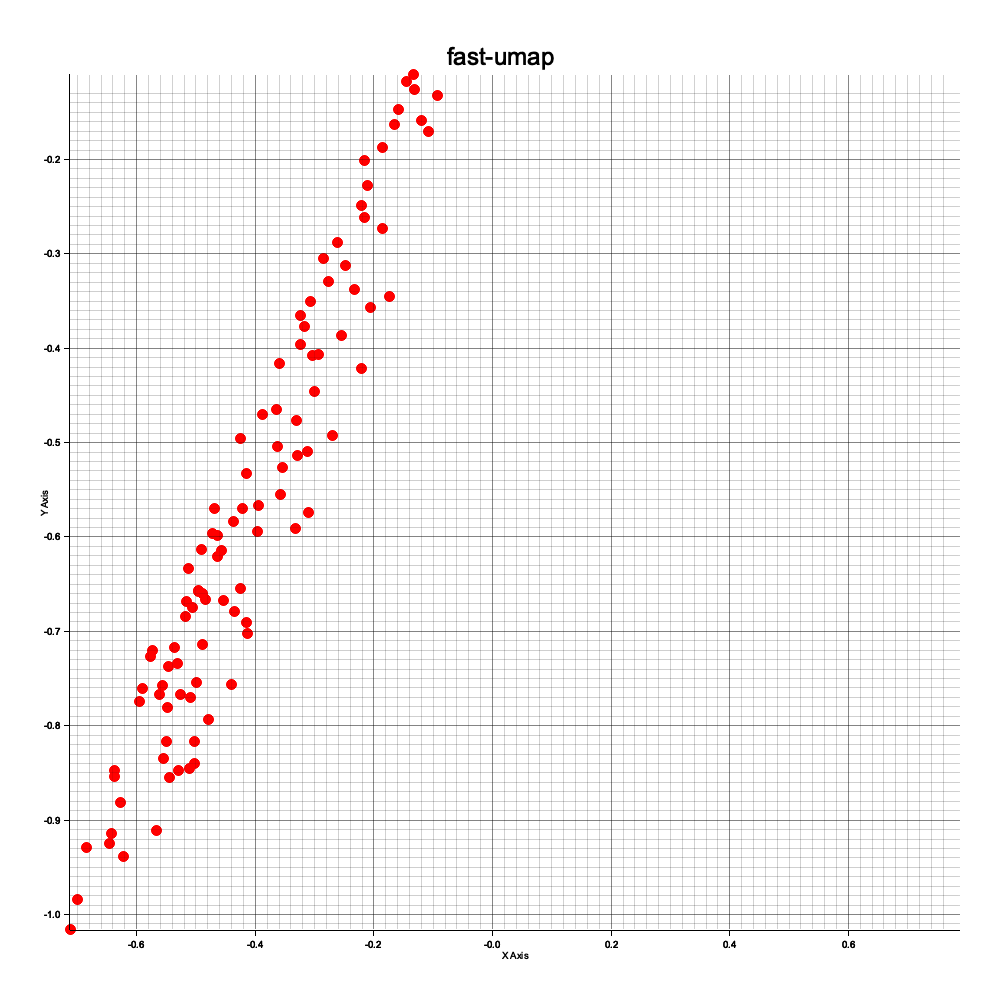
Generates this plot:

### Advanced
```shell
cargo run --example advanced
```
Sample code:
```rust
use burn::{backend::*, module::*, prelude::*};
use fast_umap::{chart, model::*, prelude::*, train::train, utils::*};
fn main() {
// Define a custom backend type using Wgpu with 32-bit floating point precision and 32-bit integer type
type MyBackend = Wgpu<f32, i32>;
// Define the AutodiffBackend based on the custom MyBackend type
type MyAutodiffBackend = Autodiff<MyBackend>;
// Initialize the GPU device for computation
let device = burn::backend::wgpu::WgpuDevice::default();
// Set training hyperparameters
let batch_size = 1; // Number of samples per batch during training
let num_samples = 1000; // Total number of samples in the dataset
let num_features = 100; // Number of features (dimensions) for each sample
let k_neighbors = 10; // Number of nearest neighbors for the UMAP algorithm
let output_size = 2; // Number of output dimensions (e.g., 2D for embeddings)
let hidden_sizes = vec![100, 100, 100]; // Size of the hidden layer in the neural network
let learning_rate = 0.001; // Learning rate for optimization
let beta1 = 0.9; // Beta1 parameter for the Adam optimizer
let beta2 = 0.999; // Beta2 parameter for the Adam optimizer
let epochs = 400; // Number of training epochs
let seed = 9999; // Random seed to ensure reproducibility
let verbose = true; // Whether to enable the progress bar during training
let patience = 10; // Number of epochs without improvement before early stopping
let min_desired_loss = 0.001; // Minimum loss threshold for early stopping
let timeout = 60;
// let metric = Metric::EuclideanKNN; // Alternative metric for neighbors search
let metric = "euclidean_knn"; // Distance metric used for the nearest neighbor search
// Seed the random number generator to ensure reproducibility
MyBackend::seed(seed);
// Generate random test data for training
let train_data = generate_test_data(num_samples, num_features);
// Configure the UMAP model with the specified input size, hidden layer size, and output size
let model_config = UMAPModelConfigBuilder::default()
.input_size(num_features)
.hidden_sizes(hidden_sizes)
.output_size(output_size)
.build()
.unwrap();
// Initialize the UMAP model with the defined configuration and the selected device
let model: UMAPModel<MyAutodiffBackend> = UMAPModel::new(&model_config, &device);
// Set up the training configuration with the specified hyperparameters
let config = TrainingConfig::<MyAutodiffBackend>::builder()
.with_epochs(epochs) // Set the number of epochs for training
.with_batch_size(batch_size) // Set the batch size for training
.with_learning_rate(learning_rate) // Set the learning rate for the optimizer
.with_device(device) // Specify the device (GPU) for computation
.with_beta1(beta1) // Set the beta1 parameter for the Adam optimizer
.with_beta2(beta2) // Set the beta2 parameter for the Adam optimizer
.with_verbose(verbose) // Enable or disable the progress bar
.with_patience(patience) // Set the patience for early stopping
.with_metric(metric.into()) // Set the metric for nearest neighbors (e.g., Euclidean)
.with_k_neighbors(k_neighbors) // Set the number of neighbors to consider for UMAP
.with_min_desired_loss(min_desired_loss) // Set the minimum desired loss for early stopping
.with_timeout(timeout) // set timeout in seconds
.build()
.expect("Failed to build TrainingConfig");
// Start training the UMAP model with the specified training data and configuration
let model = train::<MyAutodiffBackend>(
model, // The model to train
num_samples, // Total number of training samples
num_features, // Number of features per sample
train_data.clone(), // The training data
&config, // The training configuration
);
// Validate the trained model after training
let (model, _) = model.valid();
// Convert the training data into a tensor for model input
let global = convert_vector_to_tensor(train_data, num_samples, num_features, &config.device);
// Perform a forward pass through the model to obtain the low-dimensional (local) representation
let local = model.forward(global.clone());
// Optionally, print the global and local tensors for inspection (currently commented out)
// if verbose {
// print_tensor_with_title("global", &global);
// print_tensor_with_title("local", &local);
// }
// Visualize the 2D embedding (local representation) using a chart
chart::chart_tensor(local, None);
}
```
It also generates 2d plot, and a loss chart:

## License
This project is licensed under the MIT License - see the [LICENSE](LICENSE) file for details.
## Copyright
2024, Eugene Hauptmann
## Thank you
Inspired by original UMAP [paper](https://arxiv.org/abs/1802.03426)