Expand description
§Spatial LED (Sled)


Sled is an ergonomic rust library that maps out the shape of your LED strips in 2D space to help you create stunning lighting effects.
What Sled does:
- It exposes an API that lets you:
- Modify virtual LED colors depending on each LED’s position, distance, direction, line segment, etc;
- Output that color data in a simple, contiguous data structure for your own usage;
- Filter LEDs by their spatial properties to pre-compute important sets;
- Additionally, some tools are provided to help you build functional apps faster (you may opt-out with compiler features):
Driver- Pack draw/compute logic into a Driver to simplify to the process of swapping between effects, or changing effect settings at runtime.Scheduler- Lightweight tool to schedule redraws at a fixed rate, powered by spin_sleep.
What Sled does not do:
- It does not interface directly with your GPIO pins to control your LED hardware. Each project will be different, so it’s up to you to bring your own glue. Check out the Raspberry Pi example to get an idea what that might look like.
- It does not allow you to represent your LEDs in 3D space. Could be a fun idea in the future, but it’s just not planned for the time being.
See the spatial_led_examples repository for examples of Sled in action!
The Basics
In absence of an official guide, this will serve as a basic introduction to Sled. From here, you can use the documentation comments to learn what else Sled offers.
Setup
To create a Sled struct, you need to create a configuration file and provide its path to the constructor.
use spatial_led::Sled;
use palette::rgb::Rgb;
let mut sled = Sled::<Rgb>::new("/path/to/config.yap")?;
A configuration file explains the layout of your LED strips in 2D space. This is used to pre-calculate some important information that’s used to speed up complex draw calls.
Example file:
center: (0.0, 0.5)
density: 30.0
--segments--
(-2, 0) --> (0.5, -1) --> (3.5, 0) -->
(2, 2) --> (-2, 2) --> (-2, 0)
See Sled::new() for more information on this config format.
//! Note the ::<Rgb> in the constructor. In previous versions of Sled, palette’s Rgb struct was used interally for all color computation. Now, the choice is 100% yours! You just have to specify what data type you’d like to use.
#[derive(Debug)]
struct RGBW {
    r: f32,
    g: f32,
    b: f32,
    w: f32
}
let mut u8_sled = Sled::<(u8, u8, u8)>::new("/path/to/config.yap")?;
let mut rgbw_sled = Sled::<RGBW>::new("/path/to/config.yap")?;

u8_sled.set(4, (255, 0, 0))?; // set 5th led to red
rgbw_sled.set_all(RGBW {
    r: 0.0,
    g: 1.0,
    b: 0.0,
    w: 0.0
});
For all further examples we’ll use palette’s Rgb struct as our backing color format (we really do highly recommend it and encourage its use wherever it makes sense), but just know that you can use any data type that implements Debug, Default, and Copy.
Drawing
Once you have your Sled struct, you can start drawing to it right away! Here’s a taste of some of the things Sled lets you do:
Set all vertices to white:
sled.set_vertices(Rgb::new(1.0, 1.0, 1.0));
Note that this is a custom terminal UI visualization that is not packaged as part of the sled crate. It is ultimately up to you to decide how to visualize your LEDs, Sled just handles the computation.
Set all LEDs 2 units away from the center_point to red:
sled.set_at_dist(2.0, Rgb::new(1.0, 0.0, 0.0));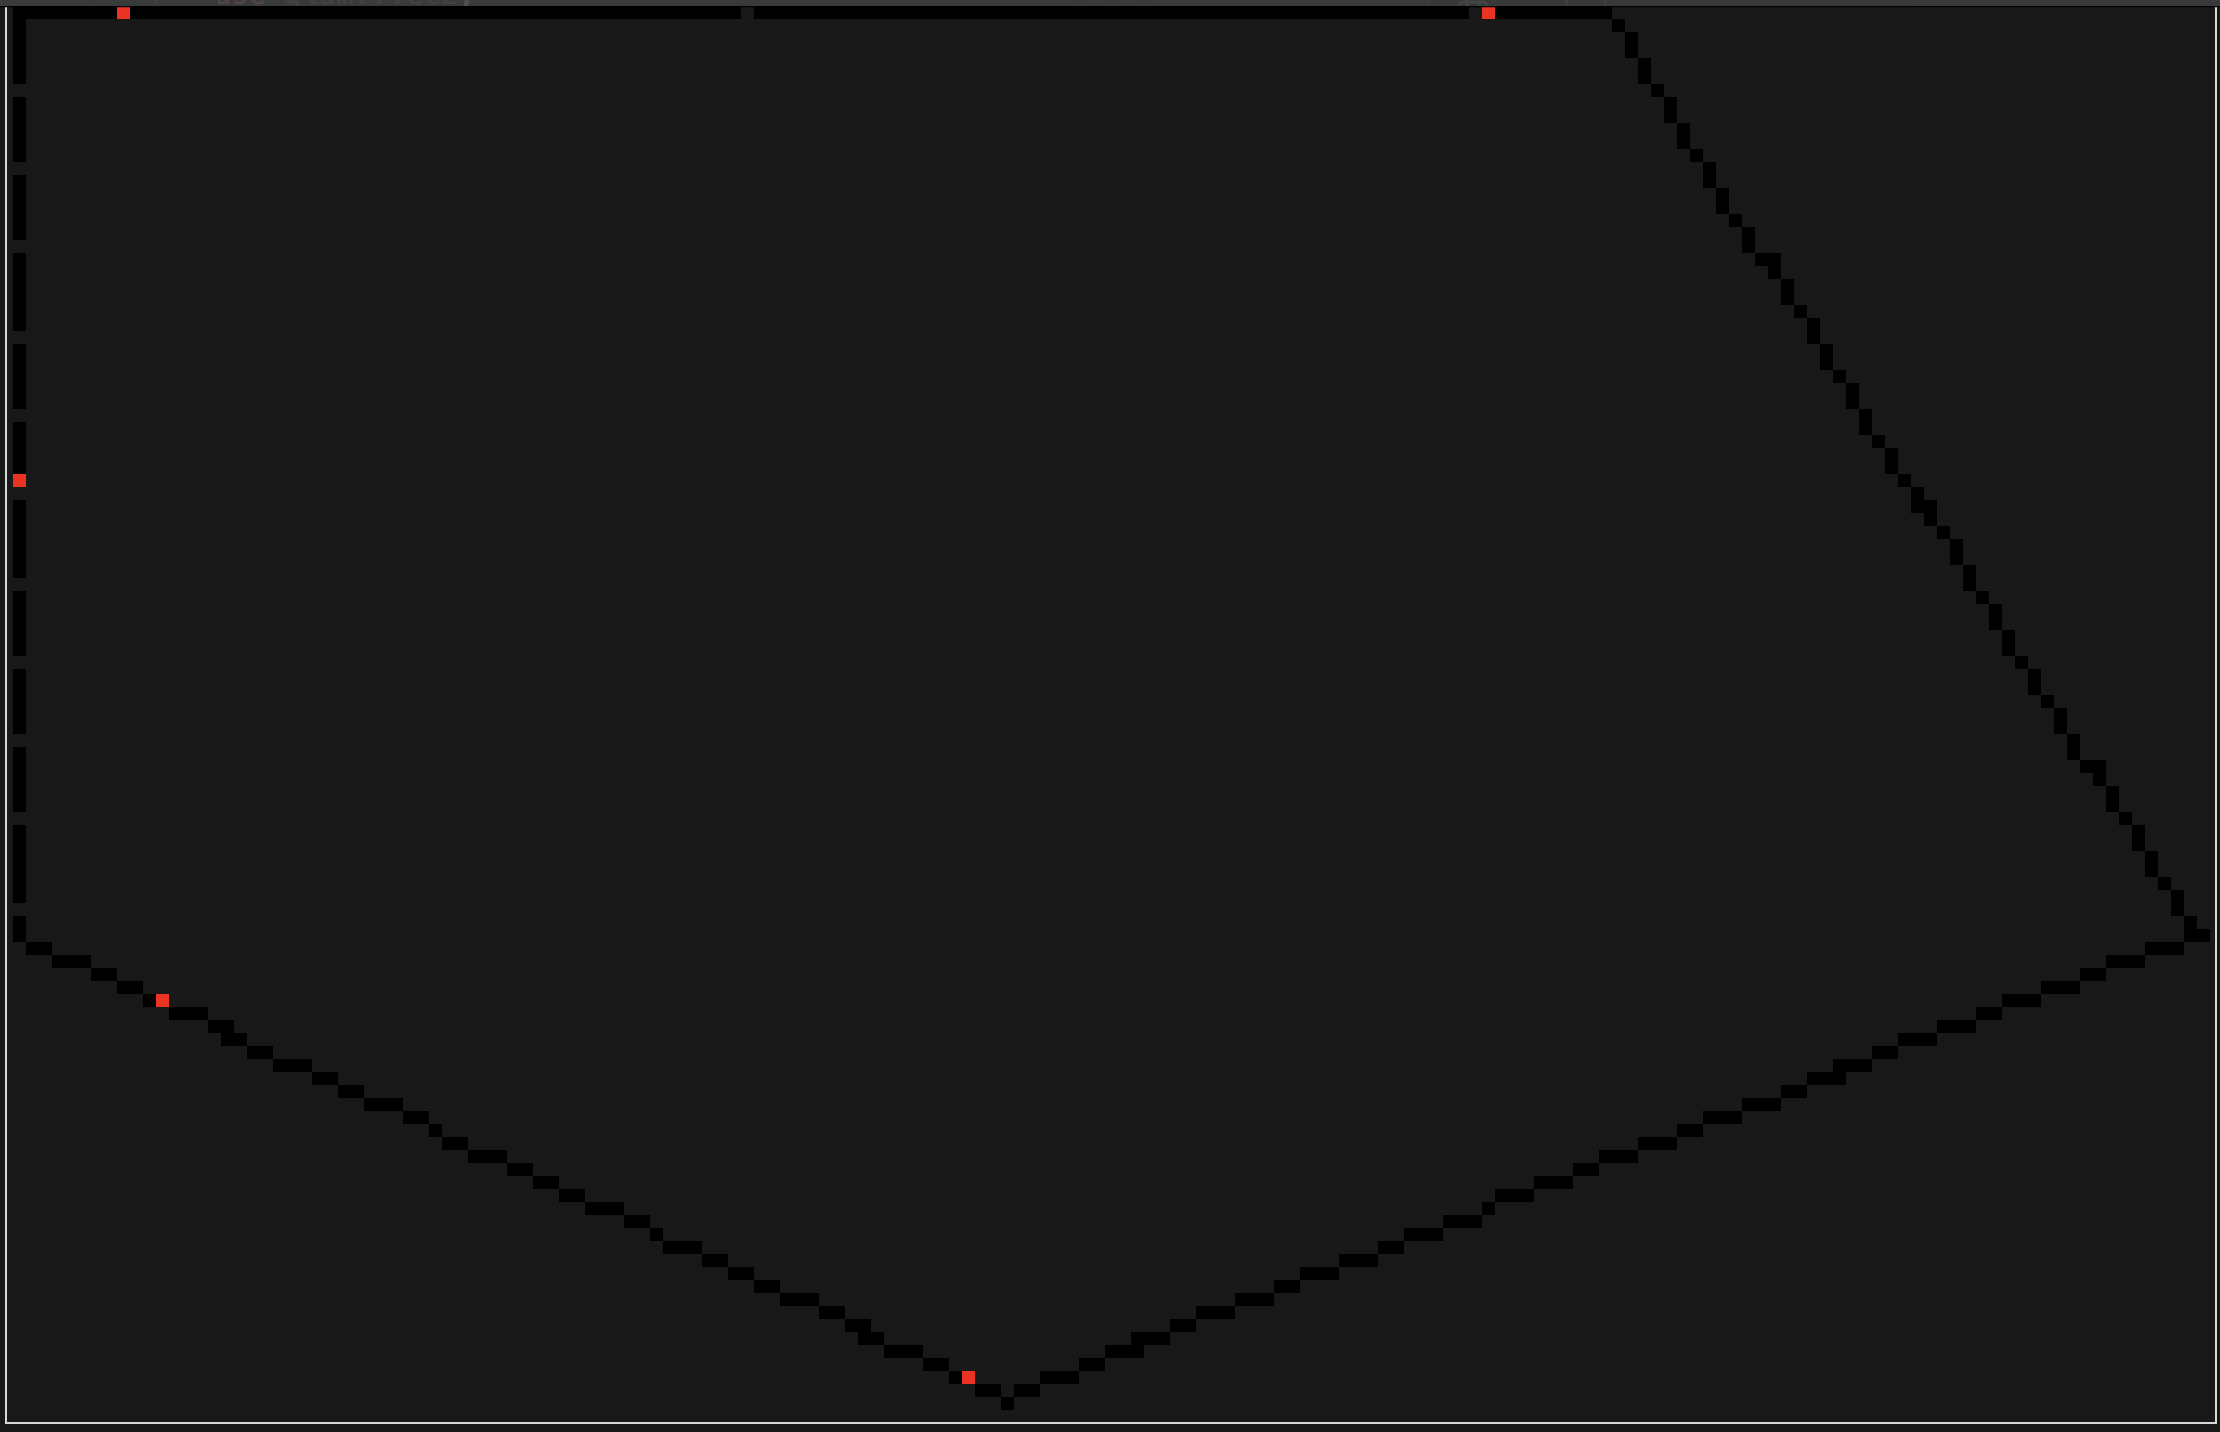
Set each LED using a function of its direction from point (2, 1):
 sled.map_by_dir_from(Vec2::new(2.0, 1.0), |dir| {
     let red = (dir.x + 1.0) * 0.5;
     let green = (dir.y + 1.0) * 0.5;
     Rgb::new(red, green, 0.5)
 });
Dim one of the walls by 75%:
sled.modulate_segment(3, |led| led.color * 0.25)?;
Set all LEDs within the overlapping areas of two different circles to blue:
let circle_1: Filter = sled.within_dist_from(
    2.0,
    Vec2::new(1.0, 0.5)
);

let circle_2: Filter = sled.within_dist_from(
    2.5,
    Vec2::new(-1.0, 1.5)
);

let overlap = circle_1.and(&circle_2);
sled.set_filter(&overlap, Rgb::new(0.0, 0.0, 1.0));
For more examples, see the documentation comments on the Sled struct.
Output
Once you’re ready to display these colors, you’ll probably want them packed in a nice contiguous array of color values. There are a few methods available to pack the information you need.
// An Iterator of Rgbs, 32-bits/channel
let colors_f32 = sled.colors();

for color in colors_f32 {
    let red: f32 = color.red;
    // -snip- //
}
A few other handy output methods:
// An Iterator of Vec2s, representing the position of each leds
let positions = sled.positions();
// An Iterator of (Rgb, Vec2) tuple pairs representing each leds color and position.
let colors_f32_and_positions = sled.colors_and_positions();
Advanced Features
For basic applications, the Sled struct gives you plenty of power. Odds are though, you’ll want to create more advanced effects that might be time or user-input driven. A few optional (enabled by default, opt-out by disabling their compiler features) tools are provided to streamline that process.
Drivers
Drivers are useful for encapsulating everything you need to drive a lighting effect all in one place. Here’s an example of what a simple, time-based one might look like:
use spatial_led::driver::Driver;
let mut driver = Driver::<Rgb>::new(); // often auto-inferred

driver.set_startup_commands(|_sled, data| {
    data.set::<Vec<Rgb>>("colors", vec![
        Rgb::new(1.0, 0.0, 0.0),
        Rgb::new(0.0, 1.0, 0.0),
        Rgb::new(0.0, 0.0, 1.0),
    ]);
    Ok(())
});

driver.set_draw_commands(|sled, data, time| {
    let elapsed = time.elapsed.as_secs_f32();
    let colors: &Vec<Rgb> = data.get("colors")?;
    let num_colors = colors.len();
    // clear our canvas each frame
    sled.set_all(Rgb::new(0.0, 0.0, 0.0));

    for i in 0..num_colors {
        let alpha = i as f32 / num_colors as f32;
        let angle = elapsed + (std::f32::consts::TAU * alpha);
        sled.set_at_angle(angle, colors[i]);
    }

    Ok(())
});
To start using the Driver, give it ownership over a Sled using .mount() and use .step() to manually refresh it.
use palette::rgb::Rgb;
let sled = Sled::<Rgb>::new("path/to/config.yap")?;
driver.mount(sled); // sled gets moved into driver here.

loop {
    driver.step();
    let colors = driver.colors();
    // display those colors however you want
}

If you need to retrieve ownership of your sled later, you can do:
let sled = driver.dismount();-
set_startup_commands() - Define a function or closure to run when
driver.mount()is called. Grants mutable control over Sled and Data. -
set_draw_commands() - Define a function or closure to run every time
driver.step()is called. Grants mutable control overSled, and immutable access toDataandTime. -
set_compute_commands() - Define a function or closure to run every time
driver.step()is called, scheduled right before draw commands. Grants immutable access toSledandTime, and mutable control overData.
Drivers need a representation of a time instant, which is provided as a generic INSTANT that must implement the trait time::Instant. For std targets, std::time::Instant can be used, and a type alias Driver = CustomDriver<std::time::Instant> is defined. For no_std targets, the client should define their own representation (e.g. using embassy_time::Instant).
If you don’t want to Drivers for your project, you can disable the drivers compiler feature to shed a couple dependencies.
For more examples of ways to use drivers, see the driver_examples folder in the spatial_led_examples repository.
Driver Data
A driver exposes a data structure called Data. This struct essentially acts as a HashMap of &str keys to values of any type you choose to instantiate. This is particularly useful for passing important data and settings in to the effect.
It’s best practice to first use startup commands to initialize your data, and then modify them through compute commands or from outside the driver depending on your needs.
fn startup(sled: &mut Sled<Rgb>, data: &mut Data) -> SledResult {
    data.set("wall_toggles", vec![true, false, false]);
    data.set("wall_colors",
        vec![Rgb::new(1.0, 0.0, 0.0), Rgb::new(0.0, 1.0, 0.0), Rgb::new(0.0, 0.0, 1.0)]
    );
    data.set("brightness", 1.0);
    data.set("important_data", CustomDataType::new());
    Ok(())
}


driver.set_startup_commands(startup);
To access driver data externally, just do:
let data: &Data = driver.data();
// or
let data: &mut Data = driver.data_mut();
Using that data is relatively straightforward.
driver.set_draw_commands(|sled: &mut Sled<Rgb>, data: &Data, _| {
    let wall_toggles = data.get::<Vec<bool>>("wall_toggles")?;
    let color = data.get::<Rgb>("room_color")?;
    let important_data: &CustomDataType = data.get("important_data")?;

    for i in 0..wall_toggles.len() {
        if wall_toggles[i] == true {
            sled.set_segment(i, *color)?;
       } else {
           sled.set_segment(i, Rgb::new(0.0, 0.0, 0.0))?;
       }
   }

   Ok(())
});
If you need to mutate data:
 // Mutable reference to the whole vector
let wall_toggles: &mut Vec<bool> = data.get_mut("wall_toggles")?;
wall_toggles[1] = true;
Filters
For exceptionally performance-sensitive scenarios, Filters can be used to predefine important LED regions. Imagine for example that we have an incredibly expensive mapping function that will only have a visible impact on the LEDs within some radius $R$ from a given point $P$.
Rather than checking the distance of each LED from that point every frame, we can instead do something like this:
let area: Filter = sled.within_dist_from(5.0, Vec2::new(-0.25, 1.5));
sled.map_filter(&area, |led| {
    // expensive computation
});
Most getter methods on Sled will return a Filter, but if you need more precise control you can do something like this:
let even_filter = sled.filter(|led| led.index() % 2 == 0);Once you’ve created a Filter, you can save it to Data for use in draw/compute stages. Using this pattern, we can pre-compute important sets at startup and then store them to the driver for later usage.
A slightly better example would be to imagine that we have an incredibly expensive mapping function that will only have a visible impact on the LEDs within some radius $R$ from a given point $P$. Rather than checking the distance of each LED from that point every frame, we can instead do something like this:
driver.set_startup_commands(|sled, data| {
    let area: Filter = sled.within_dist_from(
        5.0, Vec2::new(-0.25, 1.5)
    );

   data.set("area_of_effect", area);
    Ok(())
});
driver.set_draw_commands(|sled, data, _| {
    let area_filter = data.get("area_of_effect")?;
    sled.map_filter(area_filter, |led| {
        // expensive computation
    });
    Ok(())
});
Scheduler
The [Scheduler](scheduler::Scheduler) struct makes it super easy to schedule redraws at a fixed rate.
let mut scheduler = Scheduler::new(120.0);

scheduler.loop_forever(|| {
    driver.step();
});
Scheduler, by default, utilizes spin_sleep to minimize the high CPU usage you typically see when you spin to wait for the next update.
Here are a few other methods that you might also consider:
// loops until false is returned
scheduler.loop_while_true(|| {
    // -snip-
    return true;
});

// loops until an error of any type is returned
scheduler.loop_until_err(|| {
    // -snip-
    Ok(())
});

// best for where you don't wanna pass everything through a closure
loop {
    // -snip-
    scheduler.sleep_until_next_frame();
}
Schedulers need a representation of a time instant, like drivers, and also a representation of a sleep function, which is provided as a generic SLEEPER that must implement the trait time::Sleeper. For std targets, std::thread::sleep() can be used, and a type alias Scheduler = CustomScheduler<std::time::Instant, StdSleeper> is defined. For no_std targets, the client should define their own representation.
For async environments, AsyncScheduler can be used instead. No predefined implementation is provided, the client should define their own, e.g. using embassy_time::Timer::after().await.
You can define your own CustomScheduler backed by whatever sleeping method you prefer if you wish. If you’d like to trim away the spin_sleep dependency, you can also disable the spin_sleep feature flag.
If you don’t need the Scheduler struct in general, you can disable the scheduler and spin_sleep flags.
no_std Support
no_std SupportSpatial LED is now usable in no_std environments as of 0.2.0 (though alloc is still required), thanks to some awesome contributions by Claudio Mattera.
To do this, disable the std flag and enable the libm flag (for use by glam and palette).
Users on the nightly toolchain can also enable the core-simd for some extra performance if you know your target platform supports SIMD instructions.
§Drivers
The default Driver implementation depends on std::time::Instant to track elapsed time between driver steps. For no_std environments, you must provide your own struct that implements the crate::time::Instant trait.
Once you have that, building a driver::CustomDriver becomes as easy as:
use spatial_led::driver::CustomDriver;

let driver = CustomDriver<MyCustomInstant>::new();§Schedulers
Similarly, the default Scheduler relies on Instants, as well as methods only available through the standard library to handle sleeping. Thus, to build a Scheduler in no_std environments, you’ll need to provide custom implementations of the crate::time::Instant and crate::time::Sleeper traits.
use spatial_led::driver::CustomDriver;

let scheduler = CustomScheduler<MyCustomInstant, MyCustomSleeper>::new(120.0);

scheduler.loop_forever(|| {
    println!("tick!");
});
As embassy is gaining popularity in the embedded Rust scene, Claudio has also provided an async interface via the scheduler::AsyncCustomScheduler struct.
§Feedback and Contributions
The author of this crate does not own any hardware that would allow him test spatial_led on real no_std environments, so bug reports and PRs are very appreciated.
Feature Flags
Enabled by Default:
stddrivers: Enables Driversscheduler: Enables Schedulersspin_sleep: Ifstdis enabled, sets the default Scheduler to use spin_sleep to schedule tasks.
Opt-in:
libm: Needed for someno_stdenvironments.core-simd(Nightly) : Enables portable SIMD support for use by glam.
Modules§
- color
- Exposes palette’s color management tools and brings the Rgb struct forward for easier use in Sled projects.
- driver
- Useful tools for building more complicated, time-based visual effects.
- scheduler
- Useful tool for scheduling redraws at a fixed rate.
- time
Structs§
- Filter
- A Filter is a set of LEDs that can be obtained via one of Sled’s getter-type methods.
- Led
- An LED in our Sled configuration, representing both the color of the LED as well as it’s spatial information.
- Sled
- A struct representing the layout of some LED configuration in 2D space, composed of line segments.
- Sled
Error - Simple error type used by fallible Sled operations.
- Vec2
- Using glam’s implementation. A 2-dimensional vector.
Type Aliases§
- Sled
Result - Equivalent to
Result<(), SledError>