Expand description
§Quaturn
A simple 3D Game Engine in Rust!
§Features
3D Model Support: load and manipulate 3D GLTF models
Customizable: Create your own Nodes and use predefined nodes for more specific functionality
Write Your Own Shaders: write your own shaders with GLSL
Easily Add UI’s: using egui you can easily set up a UI
§Example Images
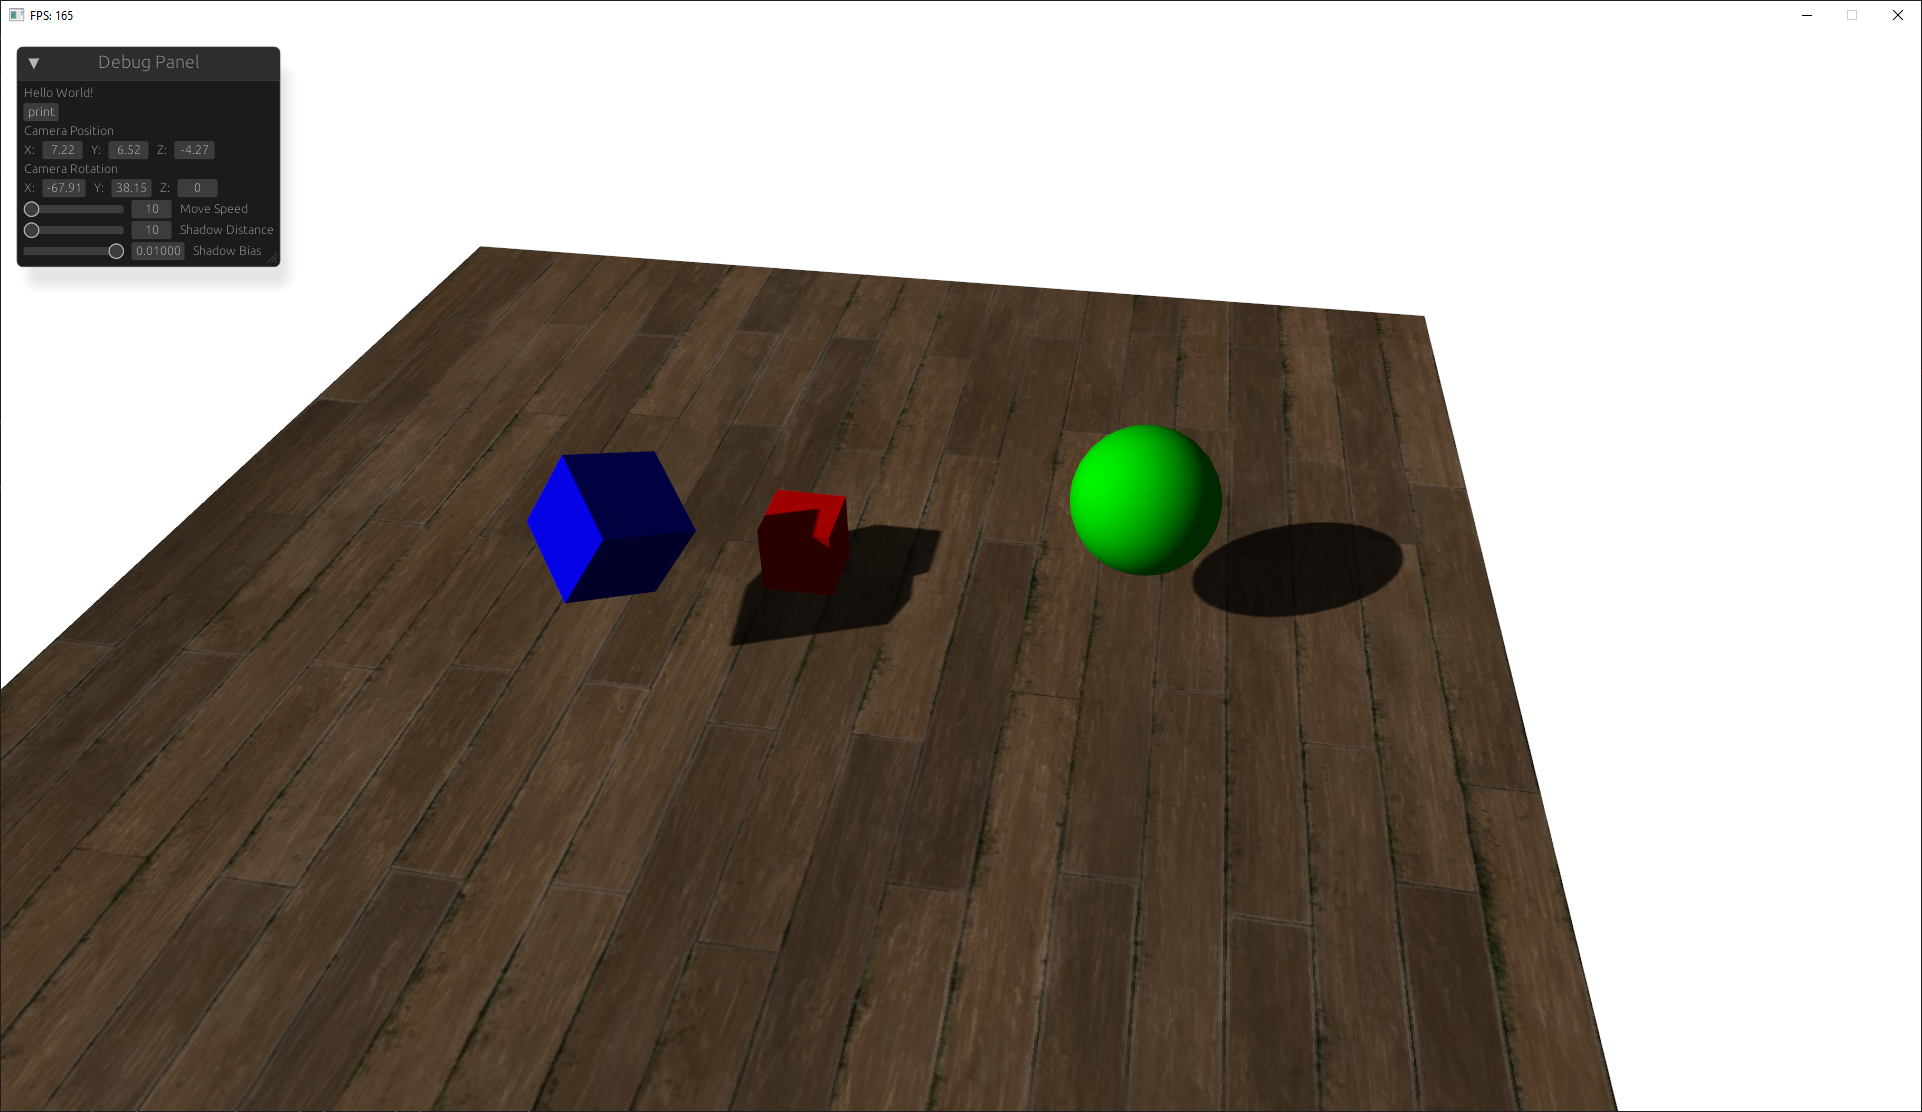
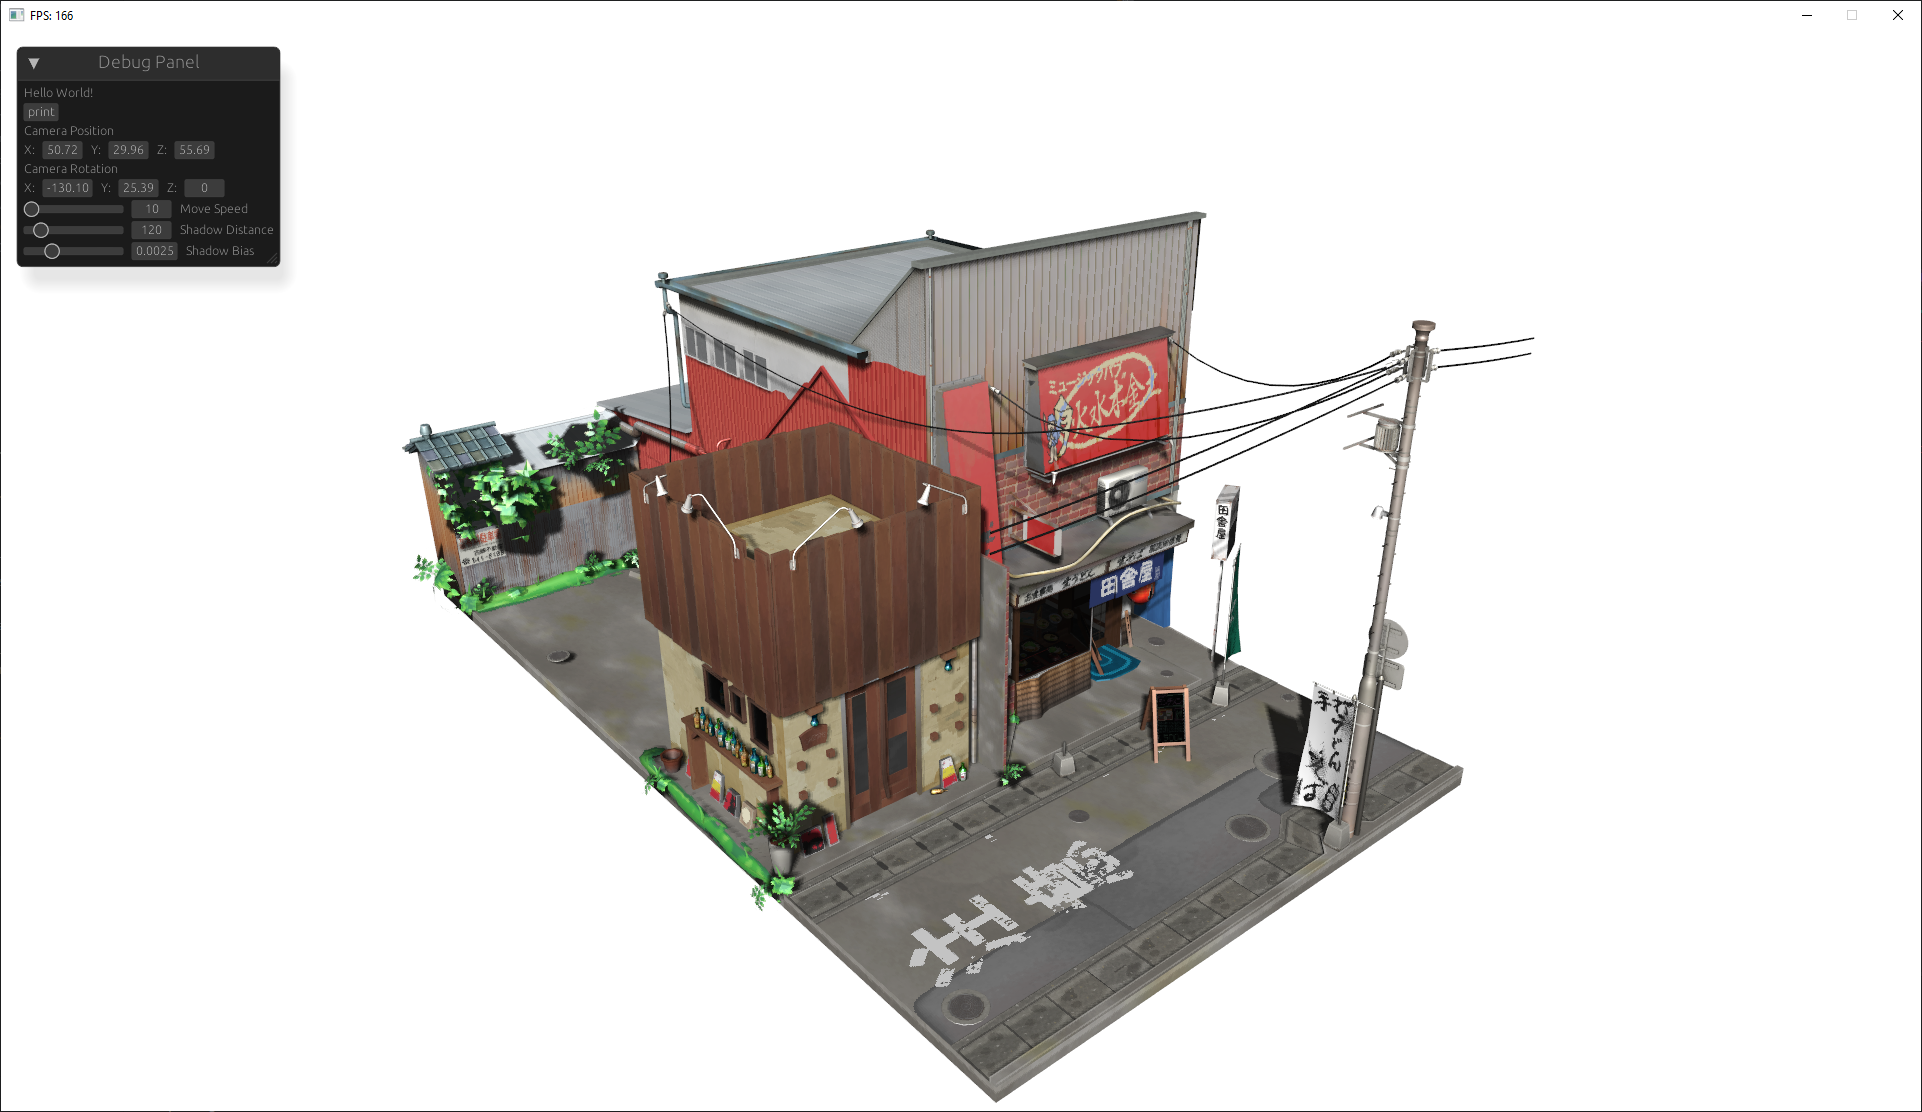 This work is based on “Japanese Restaurant Inakaya” by MGuegan, licensed under CC BY 4.0.
§Guide to using the Engine
this guide goes over the basic usage of initializing the engine, adding nodes, and defining custom nodes.
§Initialization
to begin initialize the engine with the window title and dimensions:
let mut engine = Engine::init("Title", WINDOW_WIDTH, WINDOW_HEIGHT);§Add a Model
models are rendered objects that you can load from a gltf file or simply a primitive shape:
engine
    .context
    .nodes
    .add("model_name", Model::new_gltf("res/path/to/model"))
    .define_ready(|model: &mut Model| {
        //runs when model is ready
        println!("(model_name) Is Ready!")
    })
    .define_ready(|model: &mut Model, context: &mut GameContext| {
        //runs every frame
        if input_manager.keys.contains(&Key::W) {
            //move mode forward when W is pressed
            model.translate(glm::vec3(0.0, 1.0 * fps_manager.time_delta.as_sec_f32(), 0.0));
        }
    })
    .apply_transform(&mut |t| {
        // rotate and scale to your liking
        t.rotate_euler_xyz(glm::vec3(-90.0, 0.0, 0.0));
        t.scale(0.1, 0.1, 0.1)
});§Add a Camera
add a 3D camera to render the scene from its perspective:
engine
        .context
        .nodes
        .add(
            "camera",
            Camera3D::new(
                glm::vec3(10.0, 10.0, 10.0),                // position
                glm::vec3(0.0, 0.0, 1.0),                   // look direction
                0.78539,                                    // field of view
                WINDOW_WIDTH as f32 / WINDOW_HEIGHT as f32, // aspect ratio
                0.1,                                        // near plane
                1000.0,                                     // far plane
            ),
        )
        .define_ready(|camera: &mut Camera3D| {
            //ran before the first frame
            println!("camera ready");
        })
        .define_behavior(|camera: &mut Camera3D, context: &mut GameContext| {
            //ran every frame
            //println!("camera behavior");
            camera.take_input(&context.input, context.frame.time_delta.as_secs_f32()); //basic built in fly movement
});§add a shader
you can add a configure shaders in the engine:
let mut shader = engine.context.nodes.add_shader(
        "default",
        Shader::default(), // add the default shader
    );

shader.set_uniform4f("lightColor", 1.0, 1.0, 1.0, 1.0);§Add Lights with Shadows
add a directional light with shadows:
engine.context.nodes.add(
        "Direct Light",
        DirectionalLight::new(
            glm::vec3(1.0, 1.0, 1.0),   // light direction
            glm::vec3(1.0, 1.0, 1.0),   // color
            1.0,                        // intensity
            100.0,                      // shadow range
            2048,                       // shadow resolution
        ),
);§Optionally add a UI with Egui
integrate a UI with egui:
let ui = UI::init(&mut engine.window);
engine
    .add("debug_panel", ui)
    .define_ui(move |ctx, context| {
        //ui to be drawn every frame
        egui::Window::new("Debug Panel").show(ctx, |ui| {
            ui.label("Hello World!");
        });
});§Transformations
in order to apply transforms to a node and all of its child nodes you can use a special method that traverses the node tree.
node.apply_transform(&mut |t| {

    // move 1 unit in the x direction every frame
    t.translate(glm::vec3(1.0, 0.0, 0.0))

    // rotate 90 degrees per second
    t.rotate_euler_xyz(glm::vec3(90.0 * context.frame.time_delta.as_secs_f32(), 0.0, 0.0))

})§Finally Start the Render Loop
start the render loop (this should be last):
engine.begin()§Defining your own Nodes
you can define your own nodes using rust traits. when you add a node to the games context it must implement the node trait. using this you can add more functionality
§Example: Custom Node
struct CustomNode {
    transform: NodeTransform,
    children: NodeManager,
    /* more optional fields */
}
// Implement Node for your custom node
impl Node for CustomNode {
    fn get_transform(&mut self) -> &mut NodeTransform {
        &mut self.transform
    }
    fn get_children(&mut self) -> &mut NodeManager {
        &mut self.children
    }
    // nodes that implement the Ready trait need to have a as_ready method to
    // cast to the dyn Ready object so the engine can dynamically dispatch the ready method
    fn as_ready(&mut self) -> Option<&mut (dyn Ready + 'static)> {
        Some(self)
    }
    // nodes that implement the Behavior trait need to have a as_behavior method to
    // cast to the dyn Behavior object so the engine can dynamically dispatch the ready method
    fn as_behavior(&mut self) -> Option<&mut (dyn Behavior + 'static)> {
        Some(self)
    }
}

// Optional Ready function that runs when the node it ready
impl Ready for CustomNode {
    fn ready(&mut self) {
        println!("Node ready!");
    }
}

// Optional Behavior funtion that runs on every frame
impl Behavior for CustomNode {
    fn behavior(&mut self, _ctx: &mut GameContext) {
        println!("Node update!");
    }
}
impl CustomNode {
    // while a constructor isnt required its always a good Idea to have.
    pub fn new() -> Self {
        Self {
            transform: NodeTransform::default(),
            children: NodeManager::new(),
       }
    }
}§Shader Uniforms
for building your own shaders the engine applies these uniforms you can also define your own uniforms with
shader.set_uniform(name, value)| Uniform Name | Type | Description |
|---|---|---|
diffuse0 | sampler2D | Diffuse texture sampler |
specular0 | sampler2D | Specular texture sampler |
shadowMap | sampler2D | Shadow map texture sampler |
baseColorFactor | vec4 | Base color factor for the material (RGBA) |
useTexture | bool | Whether to use the texture for the object |
useAlphaCutoff | bool | Whether alpha cutoff is applied |
alphaCutoff | float | Alpha cutoff value for transparency |
lightColor | vec4 | Color of the light (RGBA) |
lightPos | vec3 | Position of the light source in world space |
camPos | vec3 | Camera position in world space |
u_directLightDirection | vec3 | Direction of the directional light (normalized vector) |
u_SpecularStrength | float | Strength of the specular highlights |
u_AmbientStrength | float | Strength of the ambient lighting |
u_bias | float | Bias value for shadow mapping to avoid shadow acne |
u_BackgroundColor | vec3 | Background color of the scene (RGB) |
u_VP | mat4 | View projection matrix (combined model-view-projection matrix) |
u_Model | mat4 | Model matrix for the object |
u_lightSpaceMatrix | mat4 | Light space matrix for shadow mapping |
§Contributing
Contributions are welcome! If you have suggestions for improvements, feel free to create a pull request or open an issue.
§License
This project is licensed under the MIT License
§Acknowledgments
Re-exports§
pub use nalgebra_glm as glm;pub use egui_gl_glfw::egui;pub use egui_gl_glfw::glfw;
Modules§
- game_
context - This module contains the game context, which contains all the necessary information for the game to run.
- renderer
- the renderer module is responsible for all the rendering related tasks including opengl initialization, shader compilation, textures, shadows, etc…
Structs§
- Engine
- Represents the main game engine.