Expand description
§Onionize
![]()

![]()
A command-line tool that creates ephemeral Tor Onion Services to proxy local TCP ports.
Think of it as a decentralized, private alternative to ngrok, powered by Arti (the official Tor implementation in Rust).
§🚀 Concept
The Problem: Developers often need to expose a local web server (e.g., localhost:3000) to a colleague or client but don’t want to configure router port forwarding or pay for centralized tunneling services.
The Solution: onionize takes a local port and instantly creates a temporary .onion address for it. No registration, no central servers, no NAT configuration required.
§✨ Features
- Ephemeral Onion Services: Generates a temporary
.onionaddress that vanishes when you stop the process. - Zero Configuration: No
torrcediting required; uses the embedded Arti client. - Client Authorization (Restricted Access): Secure your service using x25519 keys so only authorized clients can connect.
- QR Code Generation: Instantly generates a QR code to open the link on Tor Browser Mobile.
- TCP Proxy: Forwards traffic bi-directionally between the Tor network and your local service.
- Cross-Platform: Runs on Linux, macOS, and Windows.
- Localization: Supports English and Russian (detects system locale automatically).
§📦 Installation
§Build from Source
Requirements: Rust and Cargo.
# Clone the repository
git clone [https://github.com/andsemenoff/onionize.git](https://github.com/andsemenoff/onionize.git)
cd onionize

# Build and run
cargo run --release -- --help§Install via Cargo
cargo install --path .§🛠 Usage
§Basic Usage
Expose your local server running on port 3000:
onionize --port 3000Wait for the bootstrap to finish. You will see a link like http://[random-string].onion
§Show QR Code
To easily share the link with a mobile device:
onionize -p 3000 --qr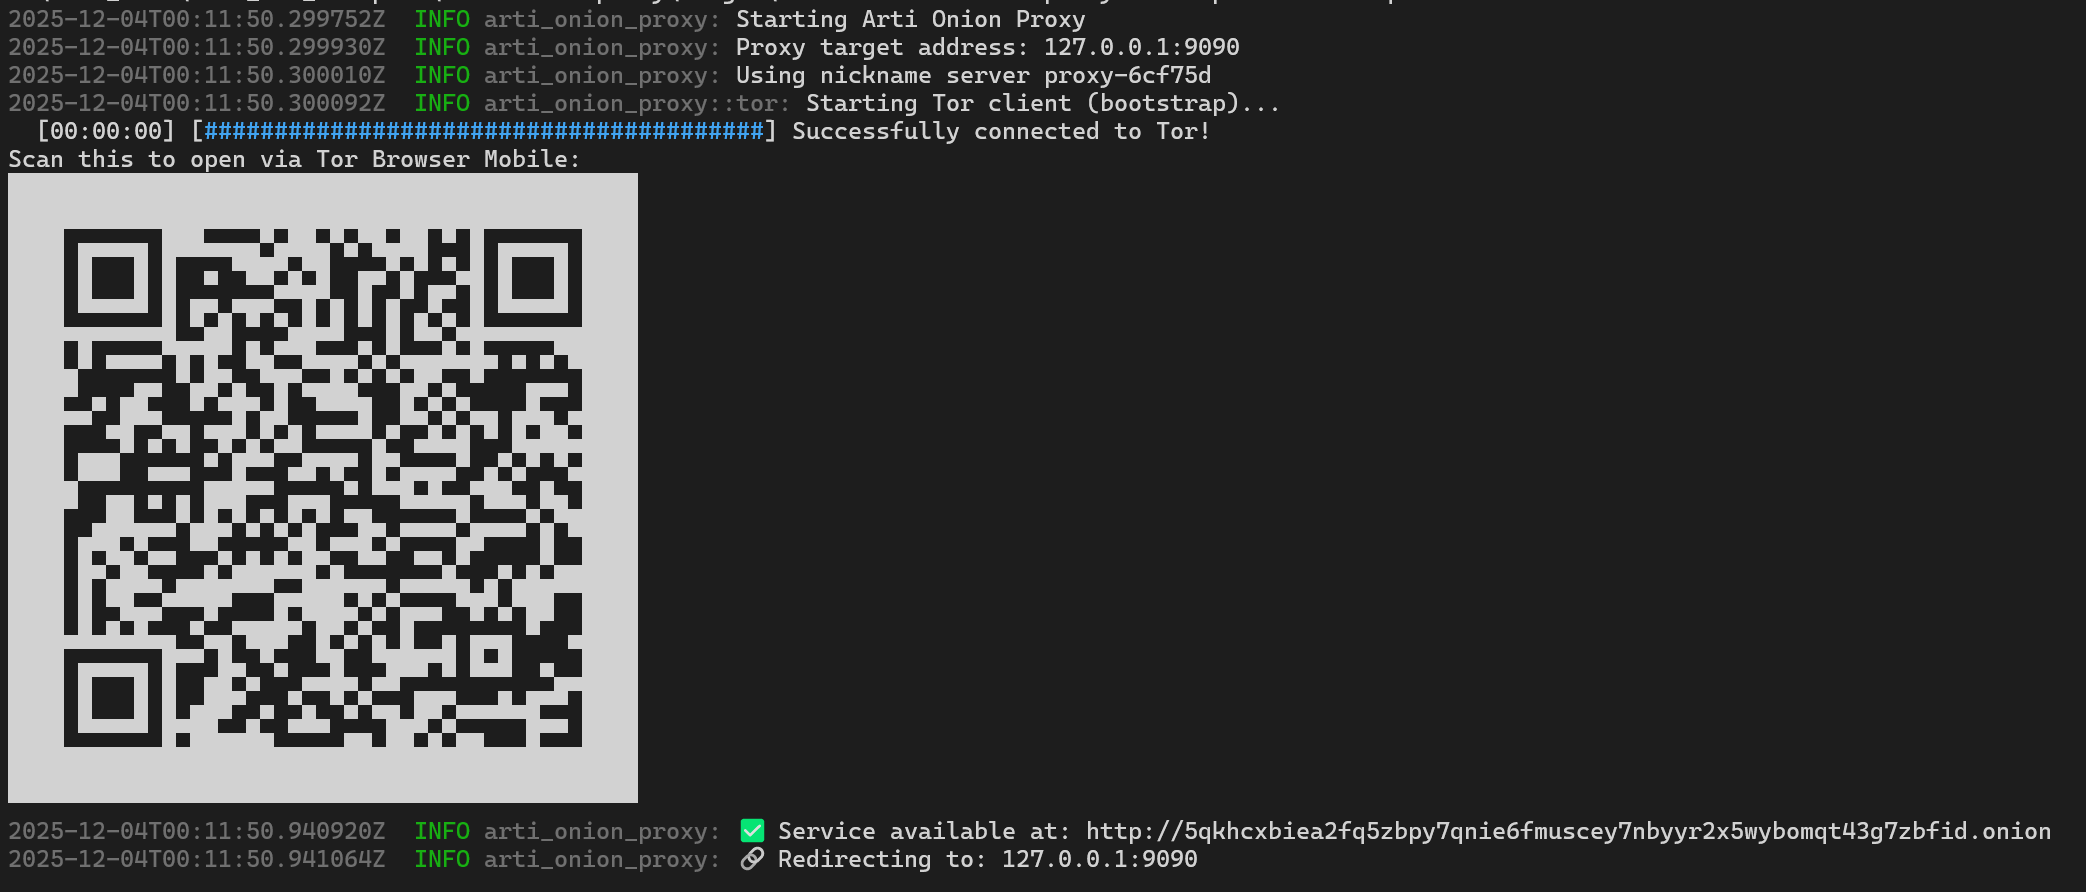
§🔒 Restricted Access (Client Authorization)
If you want to prevent random people from accessing your local service, you can enable Restricted Discovery. This requires the client to possess a specific private key to even find the service in the Tor network.
§Option A: Ephemeral Restricted Mode (Easiest)
Automatically generate keys for this session only:
onionize -p 3000 --restrictedThe tool will output a Client Key string. You must add this key to your client’s Tor configuration to connect.
§Option B: Manual Key Management
-
Generate keys:
onionize --keygenThis will output a Public Key (for the server) and a Private Key (for the client).
-
Run the proxy with the authorized public key:
onionize -p 3000 --auth "descriptor:x25519:<YOUR_PUBLIC_KEY>"
§⚙️ CLI Options
| Flag | Short | Default | Description |
|---|---|---|---|
--port | -p | 3000 | Local port to proxy. |
--host | -H | 127.0.0.1 | Local interface/IP to forward traffic to. |
--nickname | -n | my-ephemeral-service | Nickname for the Onion Service. |
--verbose | -v | false | Enable verbose logging. |
--qr | false | Display a QR code of the onion URL in the terminal. | |
--keygen | false | Generate x25519 keypair for Client Authorization and exit. | |
--auth | None | Enable restricted access using a specific public key string. | |
--restricted | false | Auto-generate keys and enable restricted access (Client Auth). |
§🌍 Localization
The interface language is determined automatically based on your system locale. To force a specific language, set the ARTI_LANG environment variable:
ARTI_LANG=ru onionize§Development
To test the proxy locally, you can start a simple file server in another terminal:
python3 -m http.server 3000Then run onionize. It will generate an onion link. Open this link in Tor Browser to access your local server.
§Similar Projects
ephemeral-hidden-service (Python)
§⚠️ Disclaimer
Security Notice: By default (without --restricted or --auth), this tool exposes your local port to the entire Tor network. Anyone who knows the generated .onion address can access your service.
- Do not expose sensitive services without additional authentication (e.g., Basic Auth on the web server or using the built-in
--restrictedmode). - This tool is intended for development and testing purposes.
§🤝 Contributing
Contributions are welcome!
- Fork the project.
- Create your feature branch (
git checkout -b feature/AmazingFeature). - Commit your changes.
- Push to the branch.
- Open a Pull Request.
§⚖️ License
This project is licensed under either of:
at your option.