embedded_graphics_web_simulator/lib.rs
1//! # Embedded Graphics Web Simulator
2//!
3//! 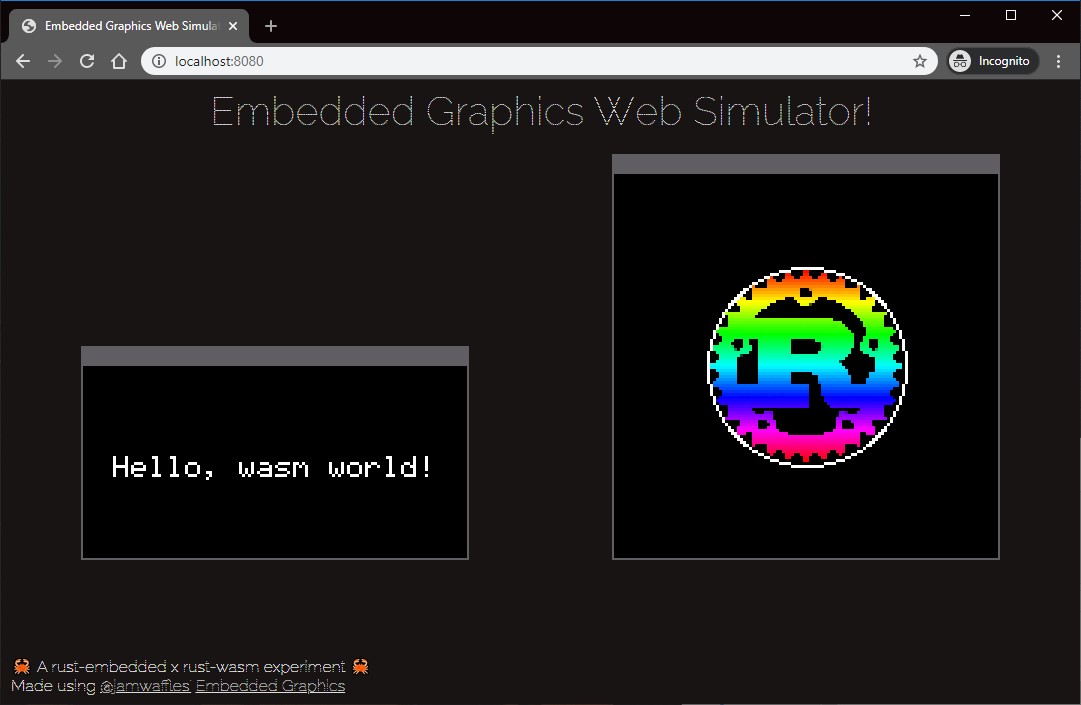
4//!
5//! The Web Simulator allows you to use a browser to test embedded-graphics code and run graphics.
6//! There is no need to install SDL and its development libraries for running the project.
7//!
8//! # Setup
9//! This library is intended to be used in Rust + Webassembly projects.
10//! Check the examples which illustrate how to use the library.
11//! Look at the [examples](https://github.com/embedded-graphics/simulator/tree/master/examples) in the Embedded Graphics Simulator project for inspiration.
12//! You can use wasm-pack to create a ready to go project and add this library as a dependency.
13//!
14//! ```rust,no_run
15//! use embedded_graphics_web_simulator::{
16//!display::WebSimulatorDisplay, output_settings::OutputSettingsBuilder,
17//!};
18//!use wasm_bindgen::prelude::*;
19//!use web_sys::console;
20//!
21//!use embedded_graphics::{
22//! image::Image,
23//! pixelcolor::{ Rgb565},
24//! prelude::*,
25//! primitive_style,
26//!};
27//!use tinybmp::Bmp;
28//!
29//!
30//!// This is like the `main` function, except for JavaScript.
31//!#[wasm_bindgen(start)]
32//!pub fn main_js() -> Result<(), JsValue> {
33//! // This provides better error messages in debug mode.
34//! // It's disabled in release mode so it doesn't bloat up the file size.
35//! #[cfg(debug_assertions)]
36//! console_error_panic_hook::set_once();
37//!
38//! let output_settings = OutputSettingsBuilder::new().scale(3).build();
39//! let mut display = WebSimulatorDisplay::new((128, 128), &output_settings);
40//!
41//! // Load the BMP image
42//! let bmp = Bmp::from_slice(include_bytes!("./assets/rust-pride.bmp")).unwrap();
43//! let image: Image<Bmp, Rgb565> = Image::new(&bmp, Point::new(32, 32));
44//! image
45//! .draw(&mut display)
46//! .unwrap_or_else(|_| console::log_1(&"Couldn't draw image".into()));
47//!
48//! Ok(())
49//!}
50//! ```
51
52pub mod display;
53pub mod output_settings;