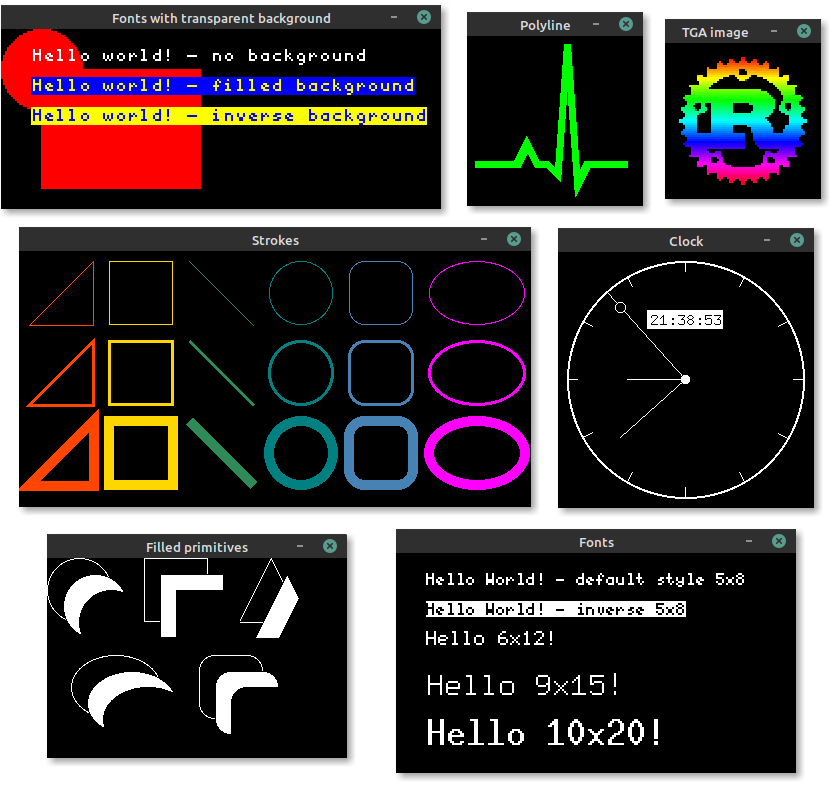
  1
  2
  3
  4
  5
  6
  7
  8
  9
 10
 11
 12
 13
 14
 15
 16
 17
 18
 19
 20
 21
 22
 23
 24
 25
 26
 27
 28
 29
 30
 31
 32
 33
 34
 35
 36
 37
 38
 39
 40
 41
 42
 43
 44
 45
 46
 47
 48
 49
 50
 51
 52
 53
 54
 55
 56
 57
 58
 59
 60
 61
 62
 63
 64
 65
 66
 67
 68
 69
 70
 71
 72
 73
 74
 75
 76
 77
 78
 79
 80
 81
 82
 83
 84
 85
 86
 87
 88
 89
 90
 91
 92
 93
 94
 95
 96
 97
 98
 99
100
101
102
103
104
105
106
107
108
109
110
111
112
113
114
115
116
117
118
119
120
121
122
123
124
125
126
127
128
129
130
131
132
133
134
135
136
137
138
139
140
141
142
143
144
145
146
147
148
149
//!  //! //! The simulator can be used to test and debug //! [embedded-graphics](https://crates.io/crates/embedded-graphics) code, or produce examples and //! interactive demos to show off embedded graphics features. //! //! # [Examples](https://github.com/embedded-graphics/examples) //! //! More simulator examples can be found in the [examples repository](https://github.com/embedded-graphics/examples). //! //! ## Simulate a 128x64 SSD1306 OLED //! //! ```rust,no_run //! use embedded_graphics::{ //! pixelcolor::BinaryColor, //! prelude::*, //! primitives::{Circle, Line, Rectangle, PrimitiveStyle}, //! mono_font::{ascii::FONT_6X9, MonoTextStyle}, //! text::Text, //! }; //! use embedded_graphics_simulator::{BinaryColorTheme, SimulatorDisplay, Window, OutputSettingsBuilder}; //! //! fn main() -> Result<(), core::convert::Infallible> { //! let mut display = SimulatorDisplay::<BinaryColor>::new(Size::new(128, 64)); //! //! let line_style = PrimitiveStyle::with_stroke(BinaryColor::On, 1); //! let text_style = MonoTextStyle::new(&FONT_6X9, BinaryColor::On); //! //! Circle::new(Point::new(72, 8), 48) //! .into_styled(line_style) //! .draw(&mut display)?; //! //! Line::new(Point::new(48, 16), Point::new(8, 16)) //! .into_styled(line_style) //! .draw(&mut display)?; //! //! Line::new(Point::new(48, 16), Point::new(64, 32)) //! .into_styled(line_style) //! .draw(&mut display)?; //! //! Rectangle::new(Point::new(79, 15), Size::new(34, 34)) //! .into_styled(line_style) //! .draw(&mut display)?; //! //! Text::new("Hello World!", Point::new(5, 5), text_style).draw(&mut display)?; //! //! let output_settings = OutputSettingsBuilder::new() //! .theme(BinaryColorTheme::OledBlue) //! .build(); //! Window::new("Hello World", &output_settings).show_static(&display); //! //! Ok(()) //! } //! ``` //! //! # Setup //! //! The simulator uses SDL2 and its development libraries which must be installed to build and run //! it. //! //! ## Linux (`apt`) //! //! ```bash //! sudo apt install libsdl2-dev //! ``` //! //! ## macOS (`brew`) //! //! ```bash //! brew install sdl2 //! ``` //! //! ## Windows //! //! The Windows install process is a bit more involved, but it _does_ work. See [the Rust-SDL2 //! crate's README](https://github.com/Rust-SDL2/rust-sdl2) for instructions. There are multiple //! ways to get it working, but probably the simplest method is copying the binaries as shown //! [here](https://github.com/Rust-SDL2/rust-sdl2#windows-msvc). //! //! # Creating screenshots //! //! Screenshots of programs, that use `Window` to display a simulated display, can be created by //! setting the `EG_SIMULATOR_DUMP` environment variable: //! //! ```bash //! EG_SIMULATOR_DUMP=screenshot.png cargo run //! ``` //! //! By setting the variable the display passed to the first `Window::update` call gets exported as a //! PNG file to the specified path. After the file is exported the process is terminated. //! //! # Exporting images //! //! If a program doesn't require to display a window and only needs to export one or more images, a //! `SimulatorDisplay` can also be converted to an `image` crate `ImageBuffer` by using the //! `to_image_buffer` method. The resulting buffer can then be used to save the display content to //! any format supported by `image`. //! //! # Usage without SDL2 //! //! When the simulator is used in headless/CI environments that don't require showing a window, SDL2 //! support can be disabled. This removes the requirement of SDL2 being installed on the target machine, //! but still allows the simulator to be used to generate images. //! //! The `with-sdl` feature is enabled by default and can be disabled by adding `default-features = false` to the dependency: //! //! ```toml //! [dependencies.embedded-graphics-simulator] //! version = "0.2.0" //! default-features = false //! ``` //! //! See the [Choosing //! Features](https://doc.rust-lang.org/cargo/reference/specifying-dependencies.html#choosing-features) //! Cargo manifest documentation for more details. #![deny(missing_docs)] mod display; mod output_image; mod output_settings; mod theme; #[cfg(feature = "with-sdl")] mod window; #[cfg(feature = "with-sdl")] pub use window::{SimulatorEvent, Window}; /// Re-exported types from sdl2 crate. /// /// The types in this module are used in the [`SimulatorEvent`] enum and are re-exported from the /// `sdl2` crate to make it possible to use them without adding a dependency to `sdl2`. /// /// [`SimulatorEvent`]: ../enum.SimulatorEvent.html #[cfg(feature = "with-sdl")] pub mod sdl2 { pub use sdl2::{ keyboard::{Keycode, Mod}, mouse::{MouseButton, MouseWheelDirection}, }; } pub use crate::{ display::SimulatorDisplay, output_image::OutputImage, output_settings::{OutputSettings, OutputSettingsBuilder}, theme::BinaryColorTheme, };