
altui-core
⚠️ This is the fork of tui-rs with flex and fast layout, dependencies update and some other minor changes ⚠️
The goal is to build on top of it a framework with a clean, simple architecture that makes writing TUI applications easier.
Why not use Ratatui as a base?
In my view, Ratatui has grown into a very large and complex project, which
makes it less suitable for individual experimentation and rapid iteration.
altui-cure is a library used to build rich terminal users interfaces and dashboards.
Get started
Adding altui-core as a dependency
Add altui-core to your Cargo.toml:
[]
= "0.1"
= "0.29"
By default, altui-core uses the Crossterm backend, which works on most
platforms (Linux, macOS, Windows) and requires no additional configuration.
Using a different backend
If you want to use another backend (for example, termion), disable default
features and enable the corresponding backend feature:
[]
= "4"
= { = "0.1", = false, = ["termion"] }
The same approach applies to all other available backends.
Creating a terminal (recommended way)
The easiest and safest way to initialize a terminal is via [Altui].
It takes care of:
- enabling raw mode
- entering the alternate screen
- optional mouse support
- restoring the terminal on panic
use io;
use Altui;
Mouse support
Mouse input is optional and can be disabled:
use Altui;
let mut ui = new;
Manual terminal initialization (advanced)
If you need full control over terminal initialization, you may construct
a [Terminal] and backend manually.
use io;
use ;
⚠️ When using this approach, you are responsible for:
- enabling and disabling raw mode
- entering and leaving the alternate screen
- restoring cursor visibility on exit or panic
See also
- [
Altui] - [
Terminal] - [
backend::Backend]
Building a User Interface (UI)
User interfaces in altui-core are composed of widgets implementing the
[Widget] trait.
Widgets use a builder-style API and are rendered via
[Frame::render_widget].
use ;
terminal.draw?;
Layout
Layout management is handled by [Layout], which allows building responsive
terminal UIs by splitting available space into regions.
The example below creates a centered block that occupies 80% of the terminal width and 80% of the terminal height. The remaining space is evenly distributed around the block, keeping it centered both vertically and horizontally.
This pattern is useful for dialogs, popups, and other UI elements that should stay visually centered regardless of terminal size.
use ;
Layouts can be nested to create complex, adaptive terminal interfaces. Unused layout regions may be left empty to create spacing.
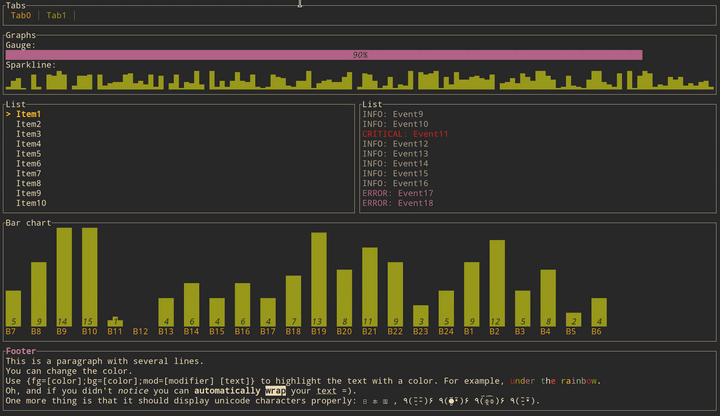
Widgets
The library comes with the following list of widgets:
Click on each item to see the source of the example. Run the examples with with
cargo (e.g. to run the gauge example cargo run --example gauge), and quit by pressing q.
You can run all examples by running cargo make run-examples (require
cargo-make that can be installed with cargo install cargo-make).
TODO
- switch cassowary to kasuari
- no-std
- Init functions
- Crossterm
- Termion
Alternatives
- Ratatui probably the best choice in the most cases
- tui-rs not maintained with old dependencies, but still relevant